IntelliJ IDEA is a popular integrated development environment (IDE) widely used by Java developers to write, debug, and deploy Java applications. If you’re running Windows 11 and want to begin your Java development journey using IntelliJ IDEA, you’ve come to the right place.
In this blog, we’ll walk you through the step-by-step process of downloading and installing IntelliJ IDEA on Windows 11 for your Java development work. Additionally, you can use IntelliJ IDEA for Java, Kotlin, and Android development, and we will discuss that too. So, without further ado, let’s get started with the guide.
How to Download and Install IntelliJ IDEA on Windows 11
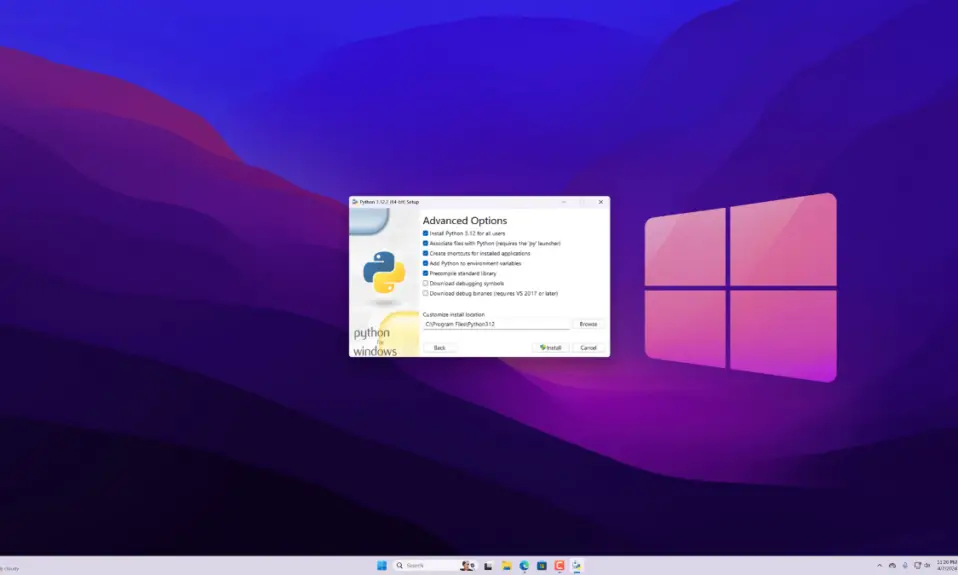
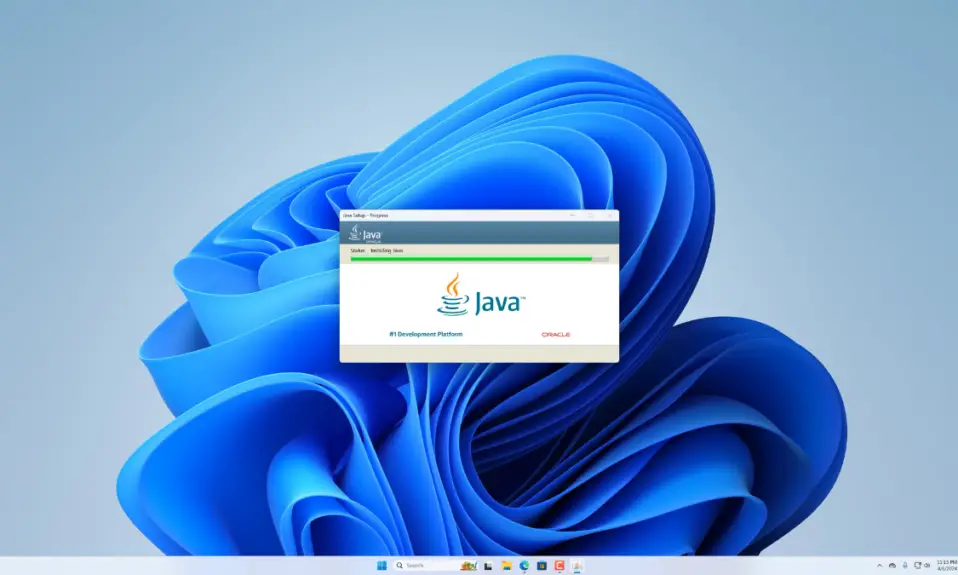
Before you download and install IntelliJ IDEA for Java, Kotlin, and Android development on your Windows 11 system, you need to ensure that Java is installed and properly configured.
However, if you’ve already installed Java, you can proceed to start the installation process.
1. Downloading IntelliJ IDEA
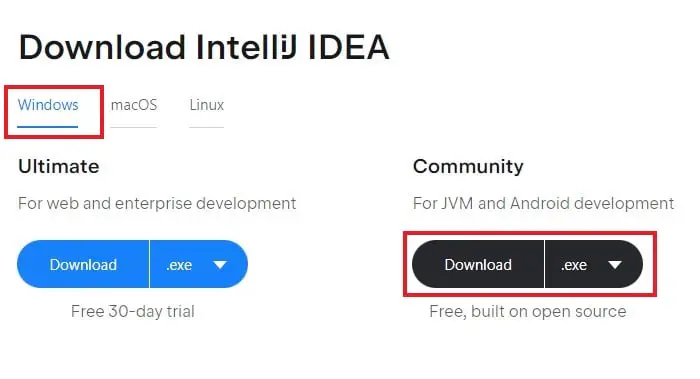
Here are the steps to download the latest version of IntelliJ IDEA. The installer comes in two variants: Ultimate and Community Edition. As the name suggests, the Community Edition is absolutely free, and you can use it for commercial development as well. However, the Ultimate Edition is a paid version, and you can evaluate it freely for 30 days. Depending on your requirements, you can download either the Community or Ultimate Edition.
1. Open any browser and visit jetbrains.com/idea/
2. Click on the Download button to download IntelliJ IDEA.
3. After that, select Windows as the operating system and click on the Download button.
That’s it, this is how you can download IntelliJ IDEA on Windows 11 for free to develop your Java program.
2. Installing IntelliJ IDEA
Once you have downloaded the installer file for IntelliJ IDEA, you are ready to install it on your system. To do that, open the installer file and follow these steps:
1. On the setup window, click Next to continue with the installation.

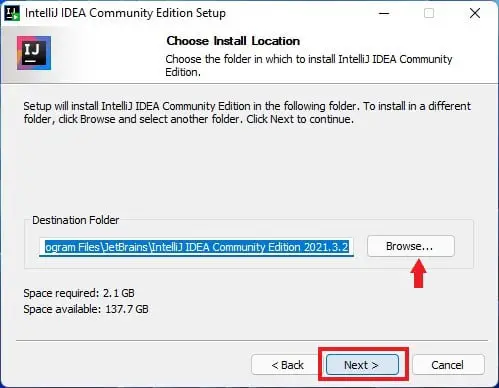
2. After that, select the location where you want to install IntelliJ IDEA, or you can keep it as the default and click on Next.
3. Now, it will open an installation options window. Here, select all the required options as shown in the image below.
4. After that, click Next.

5. Give a name to the Start Menu folder; by default, it is JetBrains. If you prefer, you can provide another name and finally click on the Install button

6. After the installation is complete, you need to restart your computer to configure the installation. After that, you are ready to use it on your system.
How to Setup IntelliJ IDEA for Java Development
After installing Java JDK and IntelliJ IDEA, you’re set to configure IntelliJ IDEA for Java development. Simply follow these steps:
1. Open IntelliJ IDEA.
2. When you open IntelliJ IDEA for the first time, you will need to accept the JetBrains Community Edition terms. To do that, check the box that says, ‘I confirm that I have read and accept the terms of this User Agreement.‘
3. Then, click on Continue.

4. Click on the Projects tab and click on New Project.

5. After that, from the left-hand side, select Java, and in the Project SDK drop-down menu, choose your Java JDK location.
6. If you wish, you can download additional libraries and frameworks by clicking on the Download options and then click Next to continue with the project.
Note: If you intend to develop Kotlin or Android applications, in the New Project tab, select your requirements.

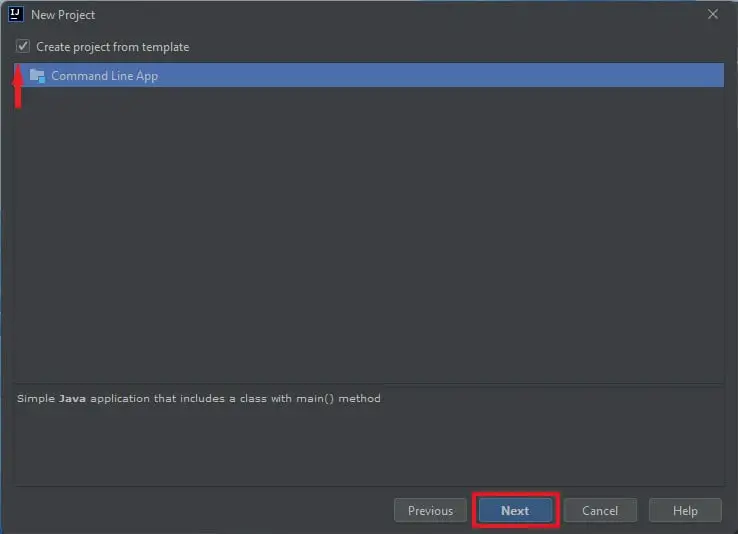
7. Check the box Create project from template to create a simple Java application. That includes a class with the main() method and click Next.
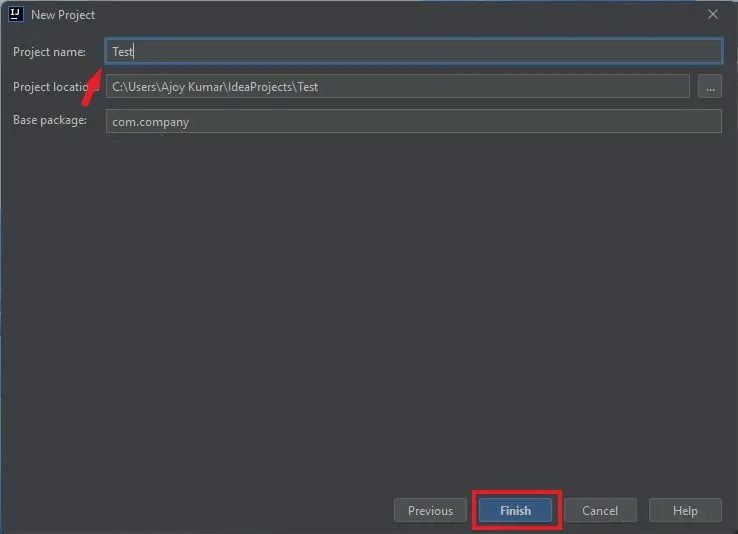
8. Now, name your project, select the project location, and choose your base package name. Then, click on Finish to create your first project in IntelliJ IDEA.
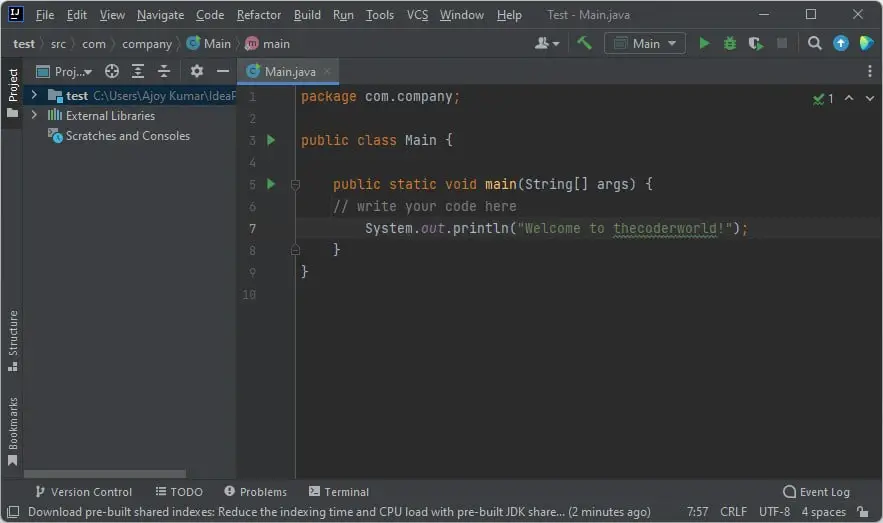
9. It will create a Main.java class file for you. Now, you’re ready to use IntelliJ IDEA for Java Development.
Conclusion
That’s it! You have learned that installing IntelliJ IDEA on Windows 11 for Java development is a straightforward process. By following the steps outlined in this blog, you can have the IDE up and running in no time. With IntelliJ IDEA, you’ll have a powerful tool at your disposal to streamline your Java development projects, write code efficiently, and take advantage of numerous features and tools to enhance your productivity.
We hope this article was helpful to you. However, if you have any doubts or suggestions, you can leave them in the comment section. Do you know that you can also use Eclipse IDE for Java development? You can give it a try as well.