Python is a high-level object-oriented programming language widely used in web development, machine learning, data science, and AI. So, if you want to build a career in this field, you should know Python. If you want to learn Python on your Windows machine, here’s a complete guide on downloading and installing Python on Windows 11 with PIP.
How to Install Python on Windows 11
To do Python programming on the Windows operating system, you need to set up Python. Before that, we have to download and install it on Windows 11. Below are the steps you can follow.
However, if you prefer a video tutorial, then you can check out the recommended video below.
1. Downloading Python
To download the latest version of the Python, follow these steps:
1. Open any browser and visit python.org.
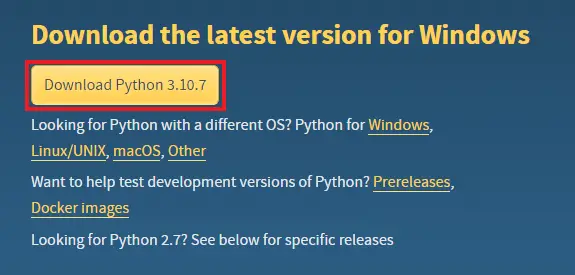
2. Click on the Downloads menu tab and click on the Download Python for Windows to download the latest version.
3. After that, wait for the download process to complete.
2. Installing Python with PIP
Once you have downloaded the installer file, you’re ready to install it on your system. Here’s how:
1. Open the installer file.
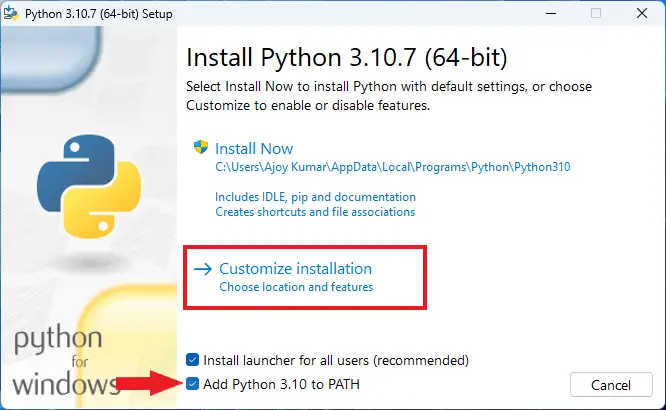
2. You will see the Python Setup window. Here, check the box labeled Add Python 3.10 to PATH to set the environment variable for Python.
3. Then, click on the Customize Installation option to configure the installation.
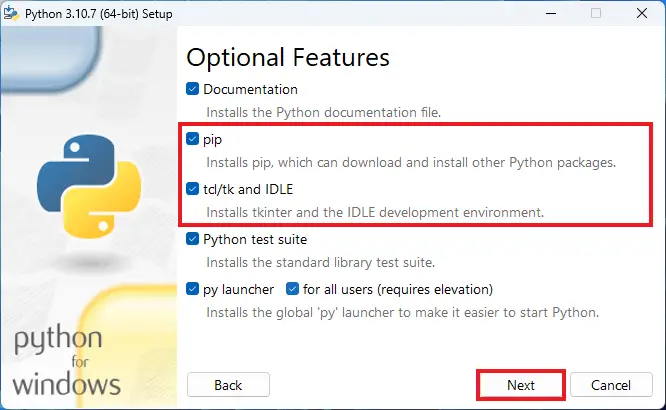
4. To install Python with PIP, select the checkboxes for pip, tcl/tk and IDLE, then click on Next.
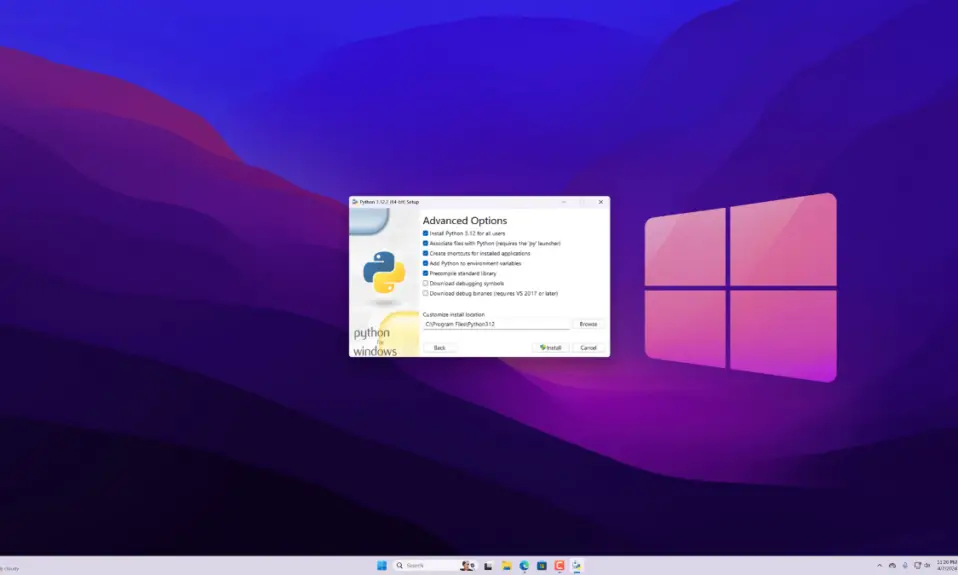
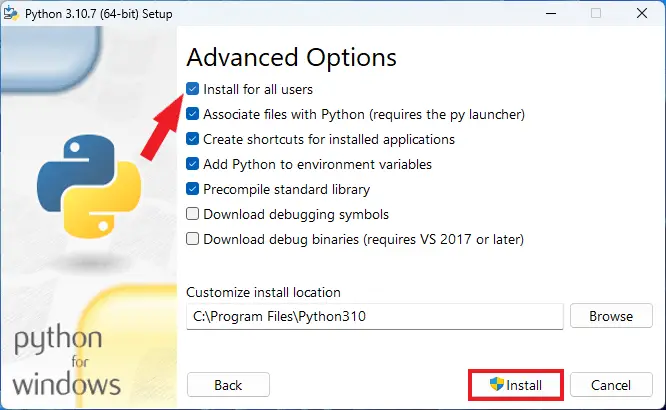
5. On the Advanced Options screen, select the Install for all users option and choose the location where you want to install Python. By default, it will be installed at C:\Program Files\Python.
6. Finally, click on the Install button.
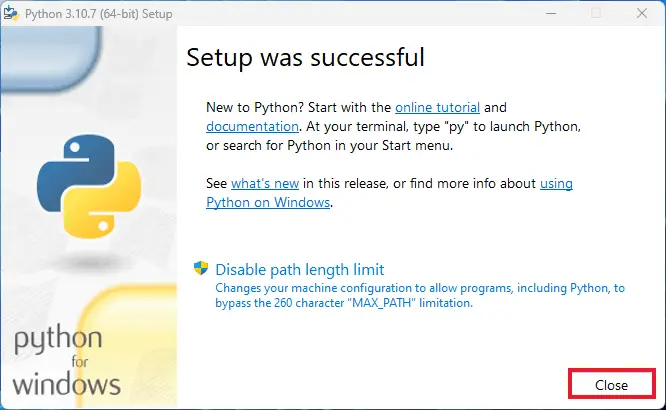
7. Once done, click on the Close button.
Conclusion
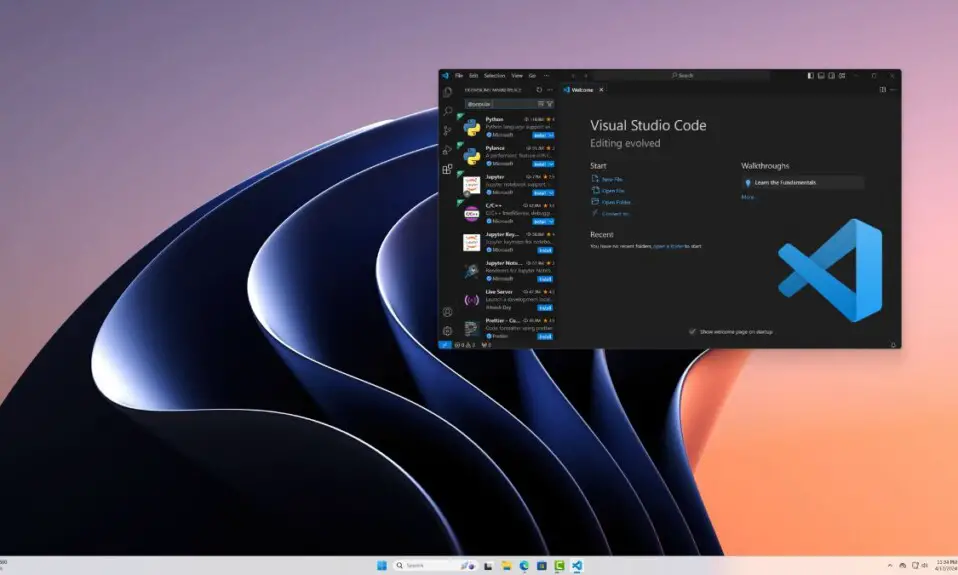
That’s it! This is how you install and set up Python on Windows 11. Now, to code your Python programs, you need a tool. By default, you get Python IDLE; however, if you want a more advanced tool, you can use Visual Studio Code. Check out our guide on how to set up Python for Visual Studio Code.

