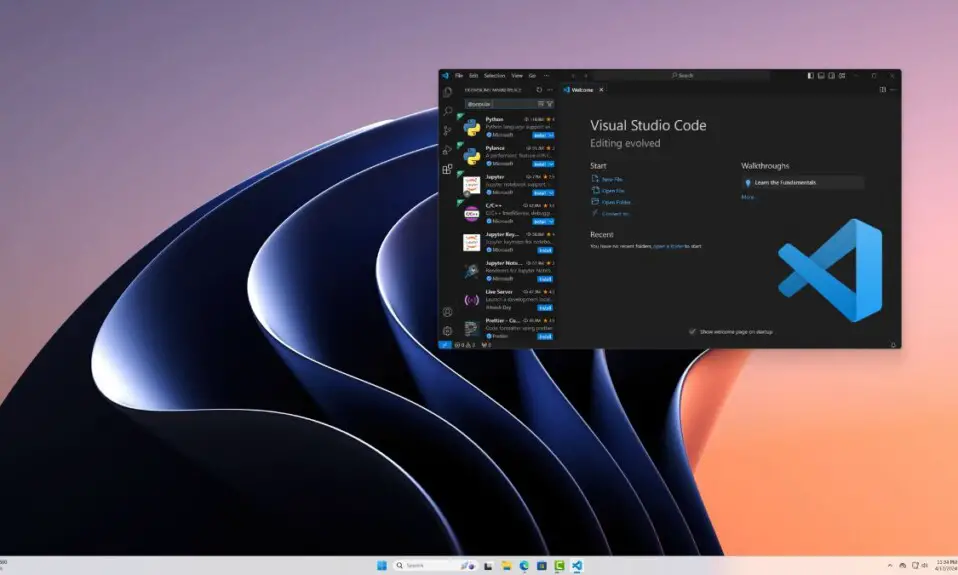
If you are looking for an IDE or source code editor for your coding needs, there are many options out there. However, Visual Studio Code (VS Code) is one of the most widely used development environments for different programming languages. You don’t need to use different IDEs for specific programming languages.
You can do it all in Visual Studio Code; you just need to install extensions and language support for it. So if you are looking for a way to install and use Visual Studio Code on Windows 11, then follow this guide.
Installing Visual Studio Code on Windows 11
Here are the steps you can follow to install Visual Studio Code on the Windows operating system. However, first of all, you have to download the Visual Studio Code installer file from the official website.
1. Visit code.visualstudio.com and download the installer file of VS Code.
2. After that, double-click on the downloaded installer file.
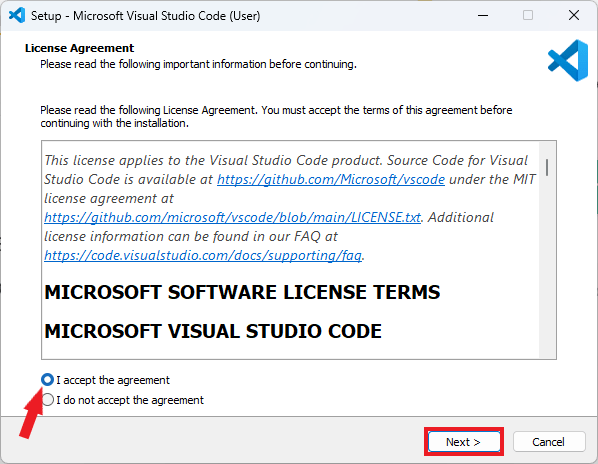
3. Here, you will get the setup window, read the license agreement, and accept it by clicking on the ‘I accept the agreement‘ option.
4. Then click Next to continue.
5. Now, choose the installation location and click Next to continue.
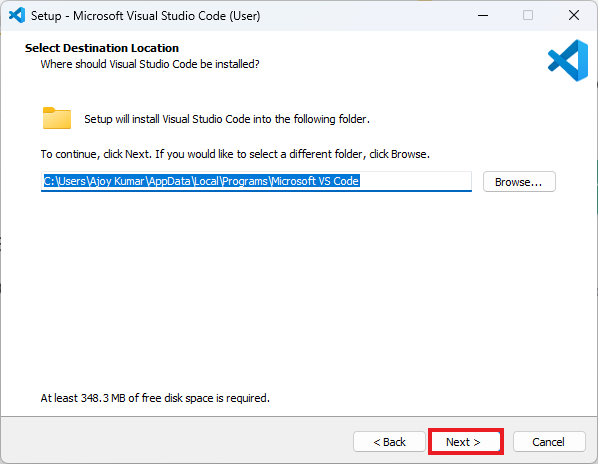
6. Provide a name for the Start Menu folder or check the box ‘Don’t create a Start Menu folder‘ and then click Next to proceed.
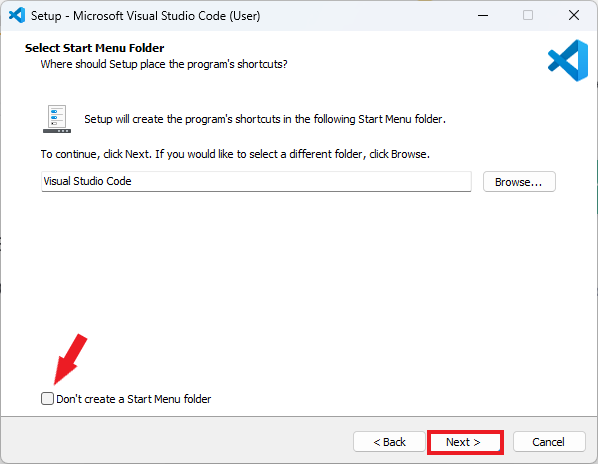
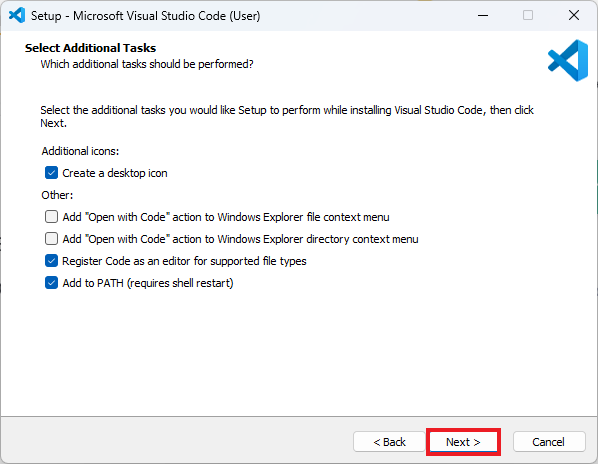
7. In the next window, click on the Create a desktop icon and select the Add to PATH option to add Visual Studio Code to the system environment variable.
8. Then, click Next to continue.
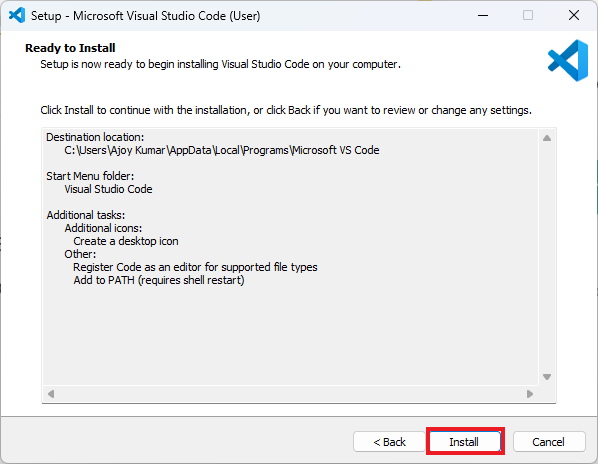
9. Finally, review the installation and click the Install button to begin the installation.
10. Once it’s done, click the Finish button.
Conclusion
That’s it; we’ve successfully installed Visual Studio Code on Windows 11. Now, you are ready to use it for your programming and coding needs. Mostly, it is used for Python programming. If you want to write Python programs, you can check out our guide on setting up Visual Studio Code for Python.

