Java is one of the most demanding programming languages in the IT industry. So, if you want to learn Java programming on your Windows system, you have to install and set up Java JDK (Java Development Kit) in Windows 11.
Java JDK 22 is the latest version of the Java SE development kit. You can easily download the installer file from the official website. However, just downloading and installing Java will not work; we have to set environment variables for Java. Don’t worry, here’s a detailed guide on it.
How to Download and Install Java in Windows 11
Before we start doing Java programming in Windows 11, we have to install it. Please note that Java is not only required for coding but also for running some Java applications on your system.
So, installing Java JDK ensures that you don’t face any errors on your system because of Java.
1. Downloading Java Installer
Now, to download the latest version of Java SE Development Kit, follow these steps:
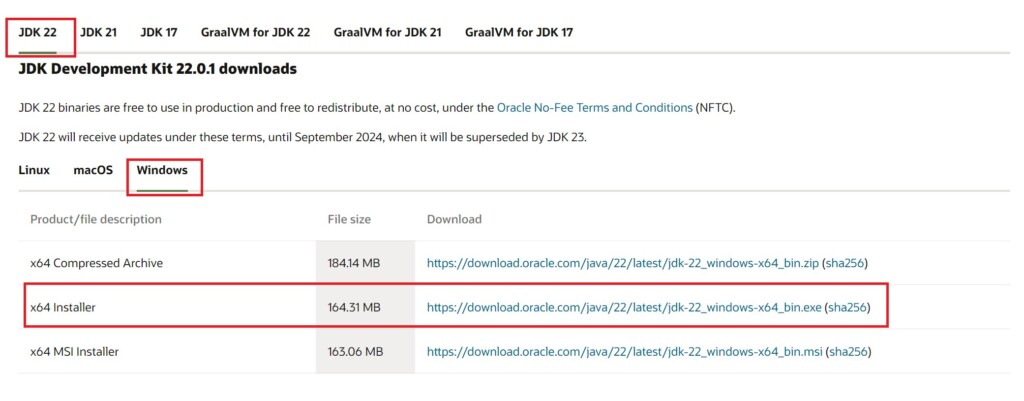
1. Open any browser and visit the Java Download page or visit this link.
2. Select the latest version of Java and choose the operating system as Windows.
3. Then, download the x64 Installer file.
2. Installing Java
Once the download is complete, you’re ready to install it on your system. There are no complicated methods to follow. Just follow the on-screen instructions.
Here are the steps you can easily follow to install the latest Java JDK:
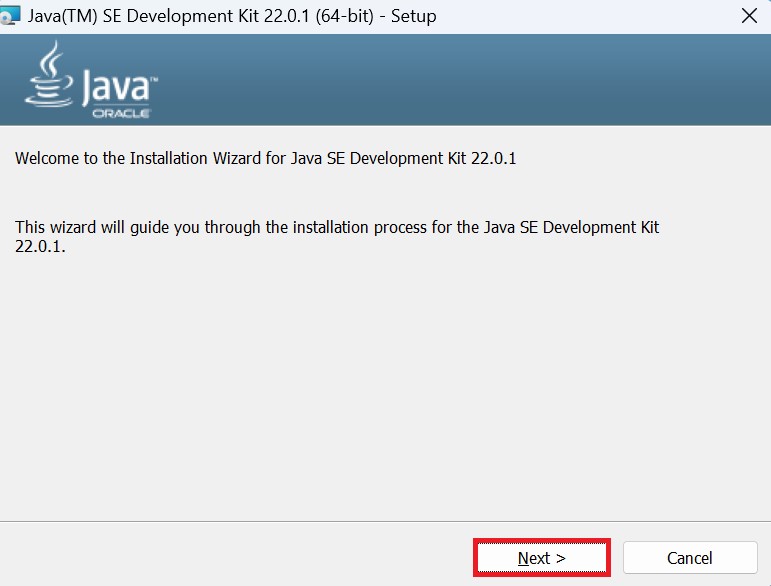
1. Open the downloaded file.
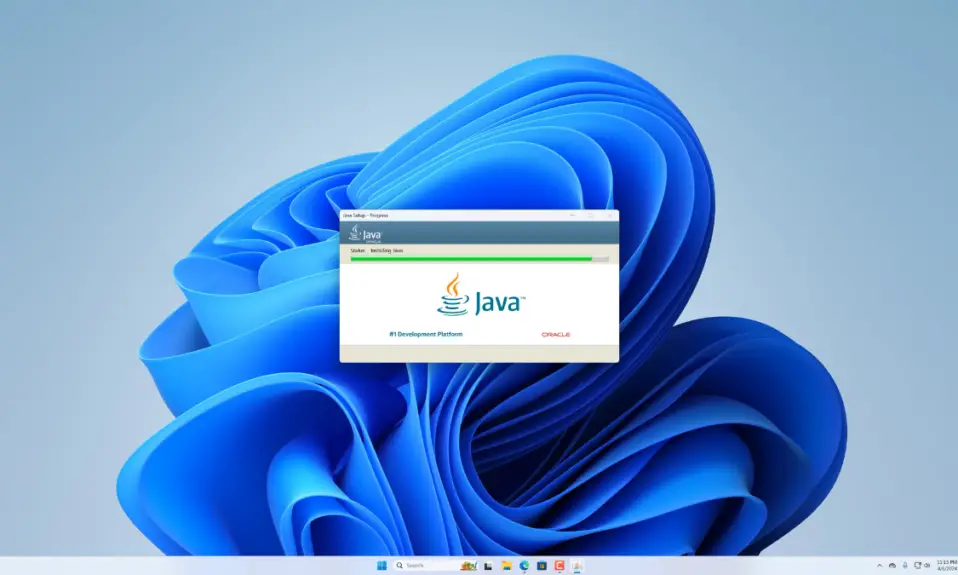
2. After that, you will get the Java(TM) SE Development Kit Setup window. Here, click on the Next button.
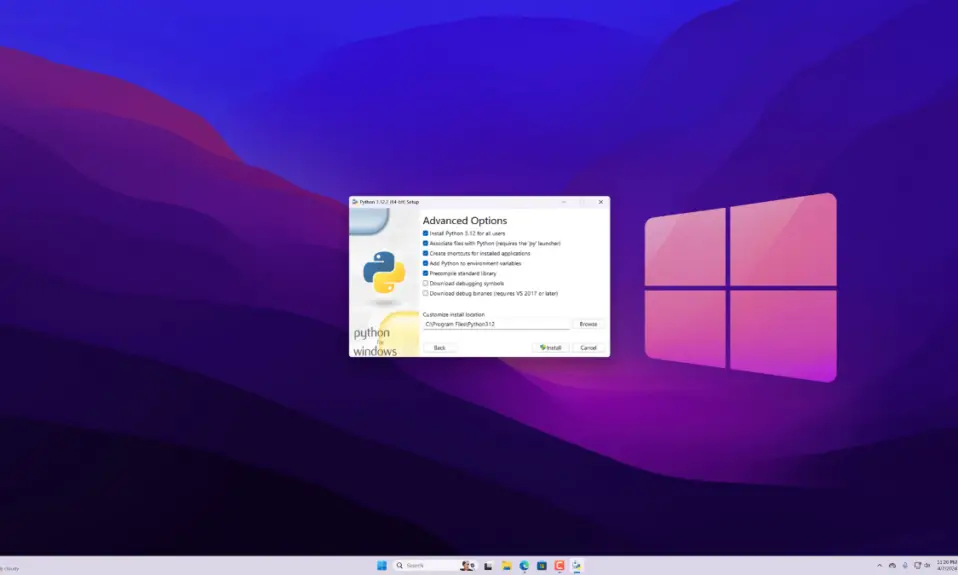
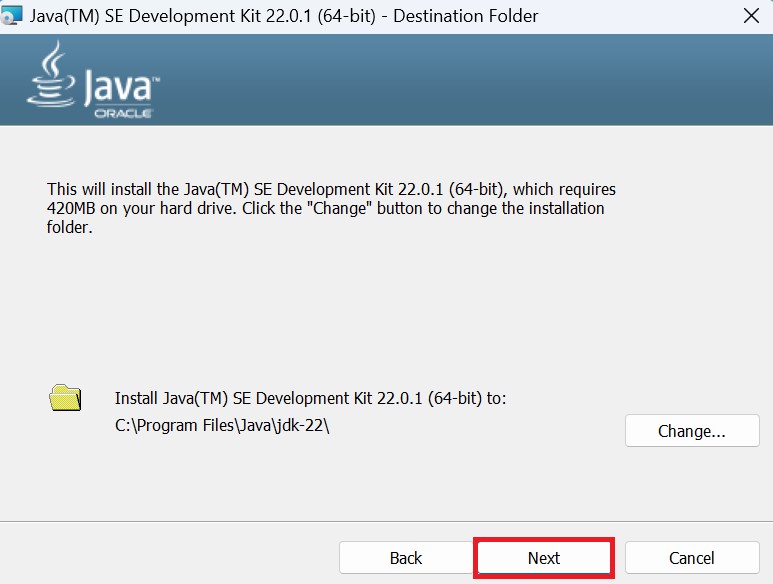
3. Now, select the installation location where you want to install Java JDK.
4. Then click on the Next button to continue with the installation.
5. After that, wait for the installation process to complete.
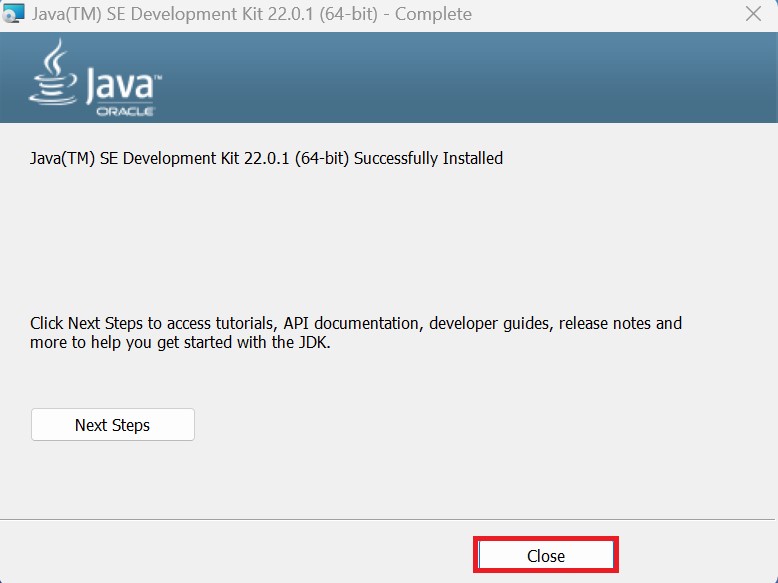
6. Once done, click on the Close button.
How to Setup Java in Windows 11
We have successfully installed the latest Java SE Development Kit on Windows 11. However, to use it, we have to set up the environment variable for Java. To do so, follow these steps:
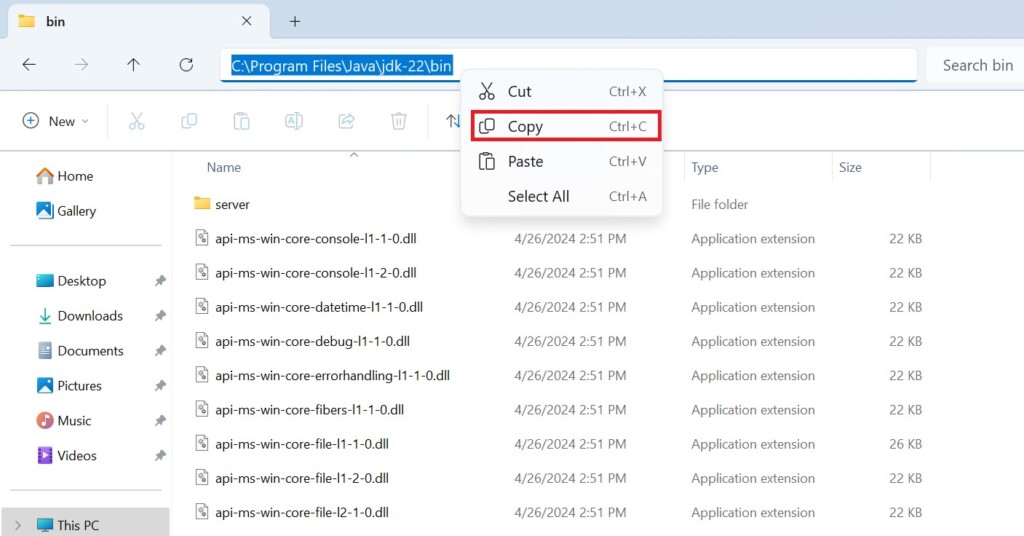
1. Navigate to the location where you installed Java. By default, it will be at C:\Program Files\Java.
2. Then open the JDK folder and look for the bin folder, open it, and copy the path.
3. Once you have copied the bin folder path, now we have to add this to the PATH variable. For that, you need to open the environment settings. To do so, open the Windows system by pressing Win + I.
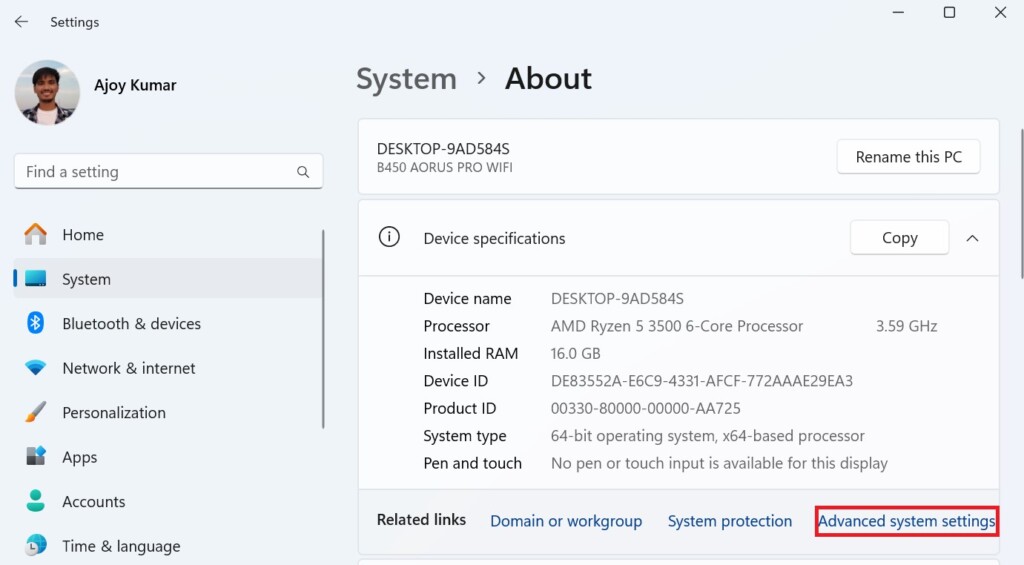
4. Here, click on the System tab and select the About option.
5. Then, click on the Advanced System Settings option.
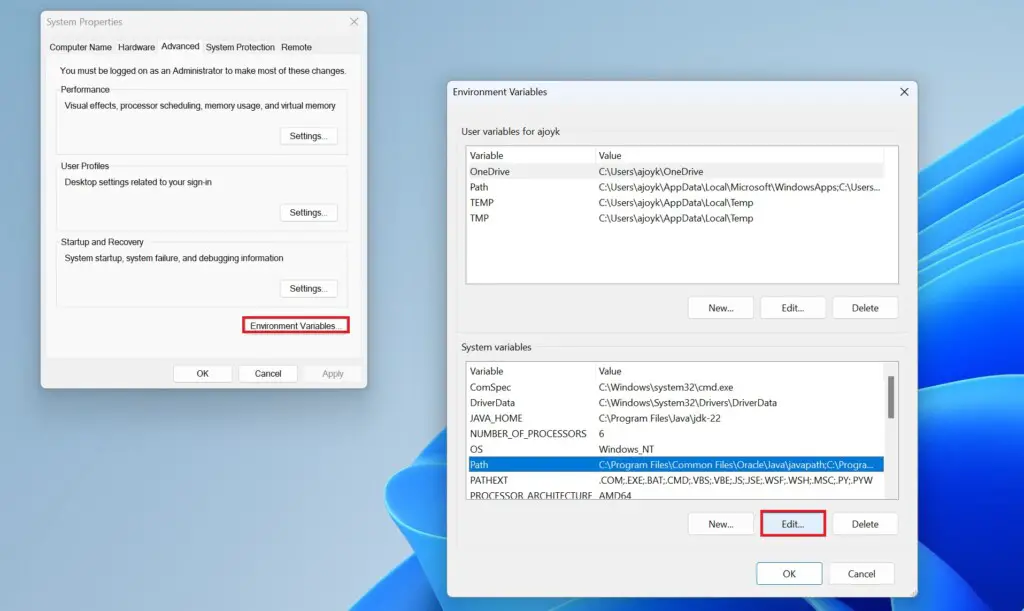
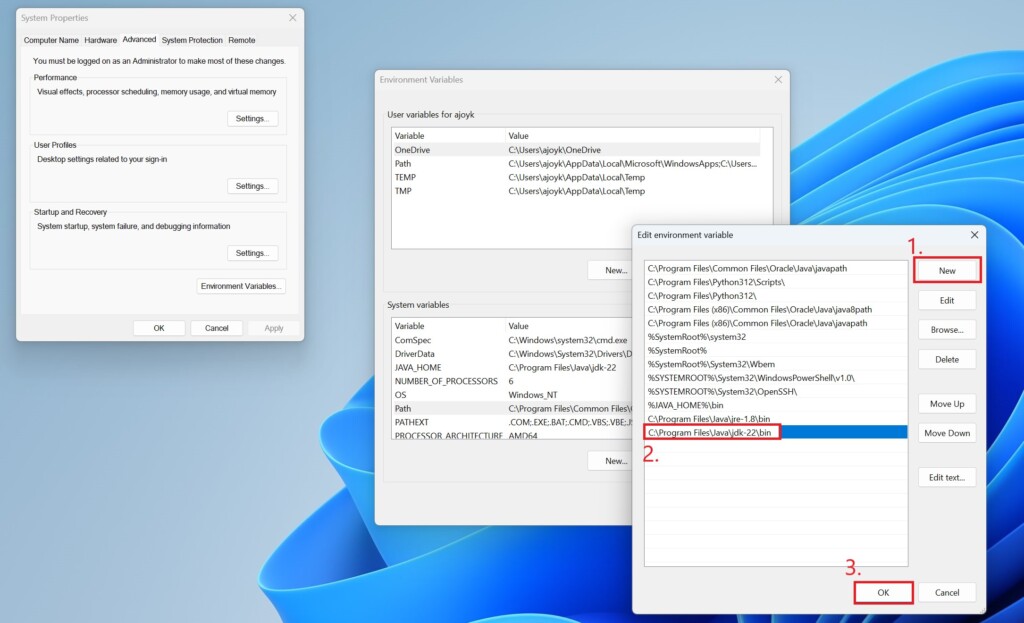
6. It will open the System Properties window. Here, click on the Environment Variables option.
7. Then select the Path variable under the System variable section and click on the Edit button.
8. Click on the New button and paste the copied bin folder path.
9. Then click the OK button to save the change.
How to Verify the Java Installation on Windows 11
Now that you have set up the Java environment on your device, you should also verify the installation. This will ensure that you have correctly installed and configured the Java environment variable on your Windows 11 device. To do this, you can use the Command Prompt.
Here’s how:
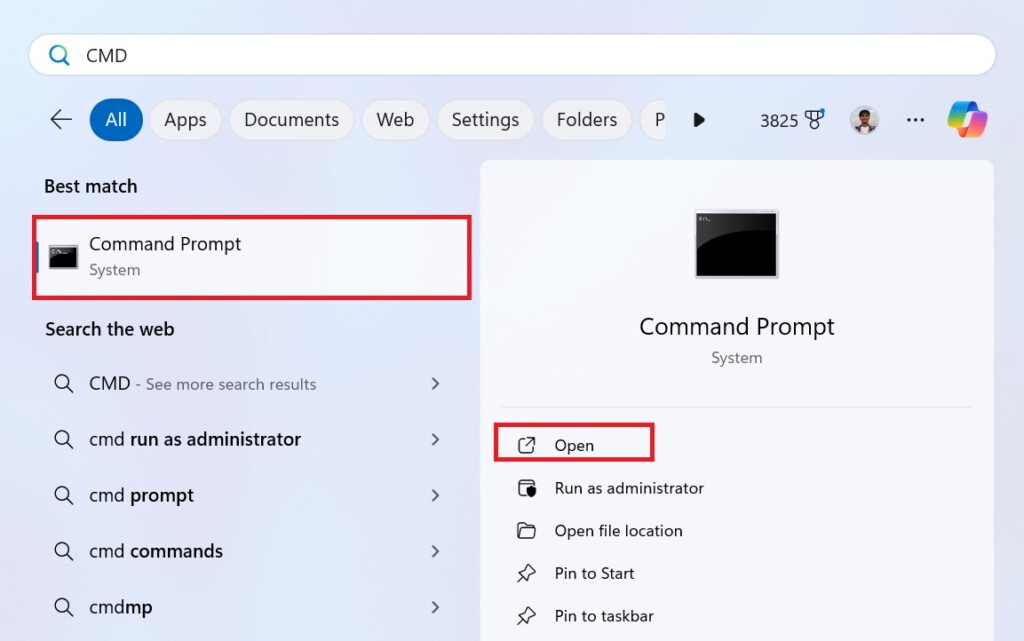
1. Open Command Prompt. To do that, type CMD in the search bar and open it.
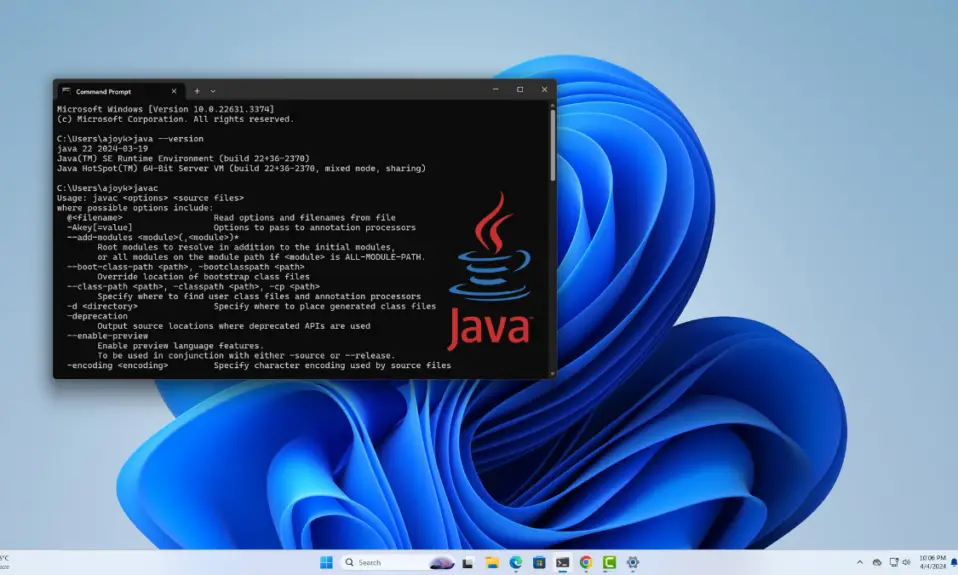
2. To check the Java installation version, run the following command:
java --version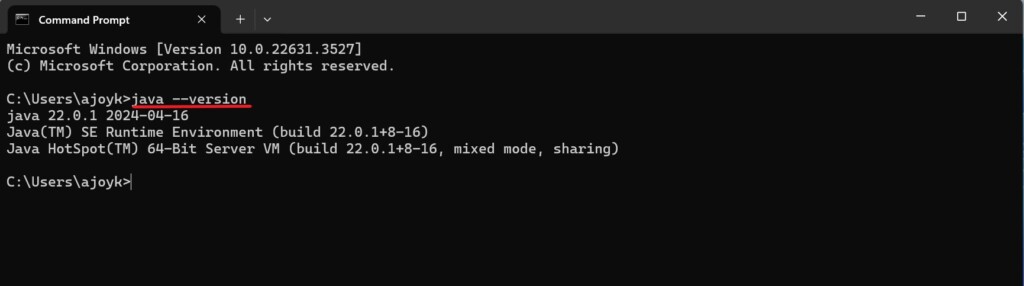
3. Now, to check if the Java compiler is working or not, you can run this command:
javac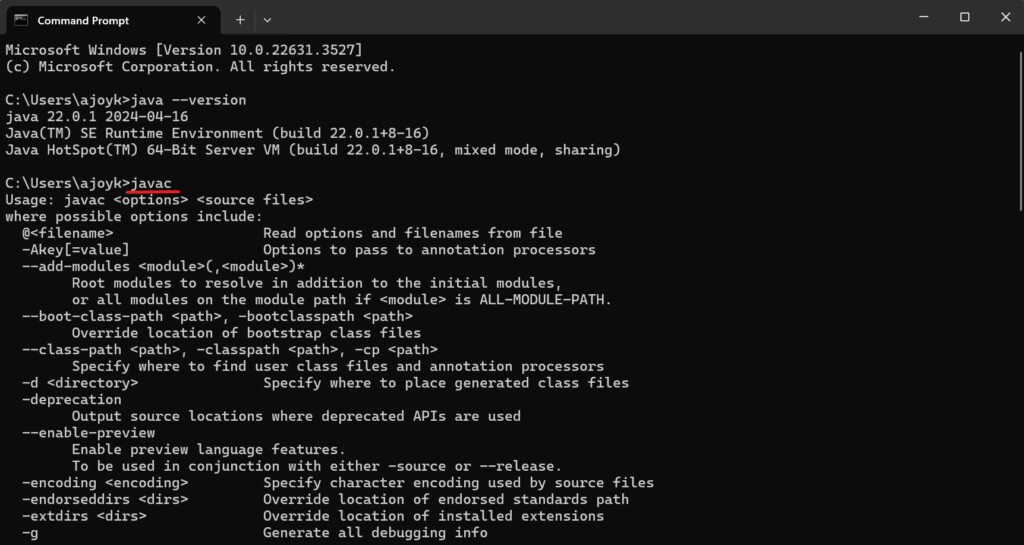
4. If you receive a batch of statements, then Java is set up on your device.
Conclusion
That’s it; this is how you can install and set up Java JDK in Windows 11 to do Java programming or to run Java applications on Windows operating systems. However, if you encounter a JAVA_HOME error while doing Java programming, you can refer to this guide: how to set the JAVA_HOME variable on Windows 11 to fix it.