While running your Java program/application, if you are getting a JAVA_HOME error. This may be because you have not set up the JAVA_HOME environment variable on your Windows 11. Here is a detailed guide on; how to set the JAVA_HOME variable on Windows.
JAVA_HOME is the name of an environment variable on the operating system that points to the installation directory of Java Runtime Environment or Java Development Kit.
How to Setup JAVA_HOME Variable on Windows 10
By just downloading and installing Java, Java files will not work. You have to; set up the java environment variable and JAVA_HOME variable on your Windows 11. So, the system can execute the Java code on your Windows 11 system.
To set up the JAVA_HOME variable, follow the steps mentioned below:
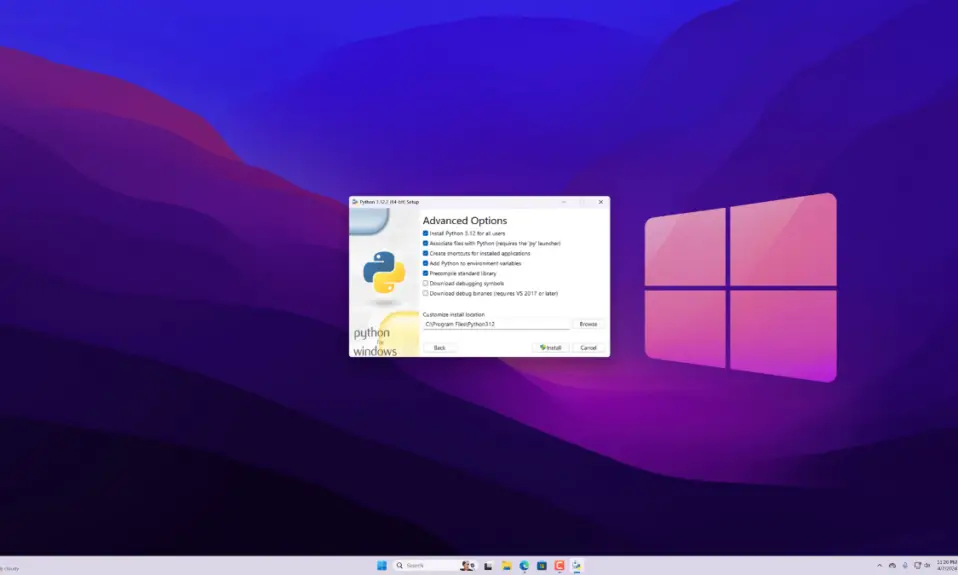
1. First, you must download and install Java SE Development Kit on your system.
2. After that, click on the Start” button.
3. Search for edit the system environment variables and open it.

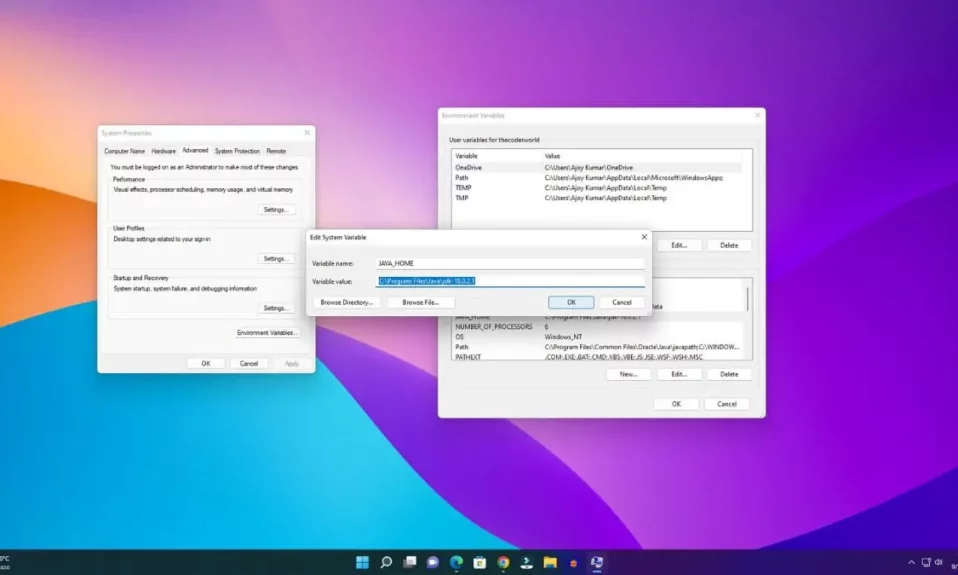
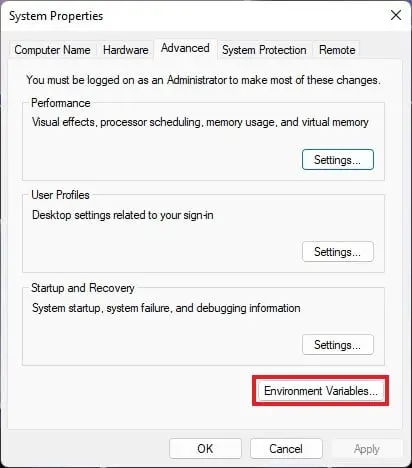
4. It will open the System Properties window. Click on the Advanced tab and click the Environment Variable option.
5. Under the System Variables section, click the New button.
6. Here, enter JAVA_HOME as a variable name and the installation directory of Java JDK under variable value.
7. Then click on OK to save the changes.

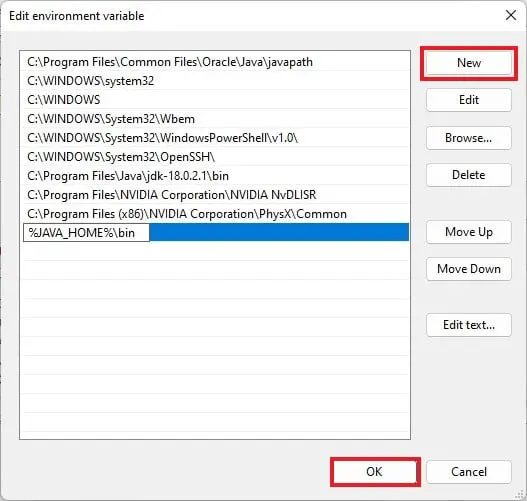
8. Now, go back to the Environment Variable window and select Path under the System variable.
9. Then click on the Edit button to edit the environment variables.

10. Here, you need to add the JAVA_HOME variable to the Path. For that, click on New and type %JAVA_HOME%\bin to add the new environment variable.
11. After that, click on OK to save the changes.
That’s it! This is how you can add the Java Installation path to the Windows environment variable in order to fix the JAVA_HOME error when running Java programs on the Windows operating system.
Verifying JAVA_HOME Variable
By following the above steps, you can set the JAVA_HOME variable on your system. However, if you still want to verify the JAVA_HOME environment variable, you can follow the steps below:
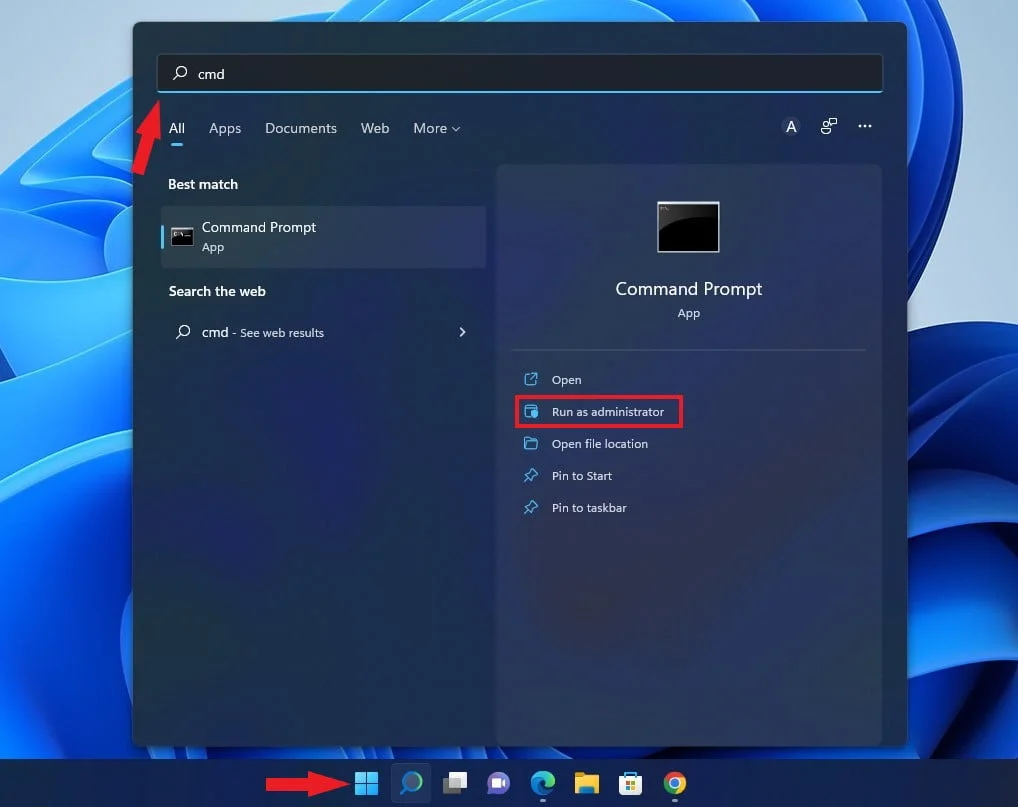
1. Click the Start button, search for cmd, and open the command prompt as administrator.
2. Now run the following command to check the JAVA_HOME path:
echo %JAVA_HOME%
3. This command should print the directory of the Java JDK to which JAVA_HOME is pointing. If you are getting an empty line, the JAVA_HOME variable is not configured correctly.
4. Next, you can also check the Javac compiler. To do that, run the following command to check the version of the Java compiler:
javac --version 
If everything went fine, that means; you have successfully set the JAVA_HOME on Windows 11. Now, you are ready to run Java files on your Windows operating system.
Conclusion
That’s it. This is how you can set the JAVA_HOME variable on Windows 11. To run and write Java code, you’ll need to install an IDE.
We hope this article was helpful to you. If you have any doubts regarding the setup process, don’t hesitate to leave them in the comments section below.