If you have installed Java on your Windows 11 and facing an error due to an environment variable, you are at the right place. It can be caused if you have not set the environment variable for the Java bin folder path. Here we will discuss; how to set up the environment variable on Windows 11.
The environment variable is a variable that is used by the system to locate the installation path and other system preferences. There are two types of variables: system variables and user variables. One is system-specific, and the other one is user-specific. They play an important role in the Windows operating system.
How to Setup Environment Variables for Java in Windows 11
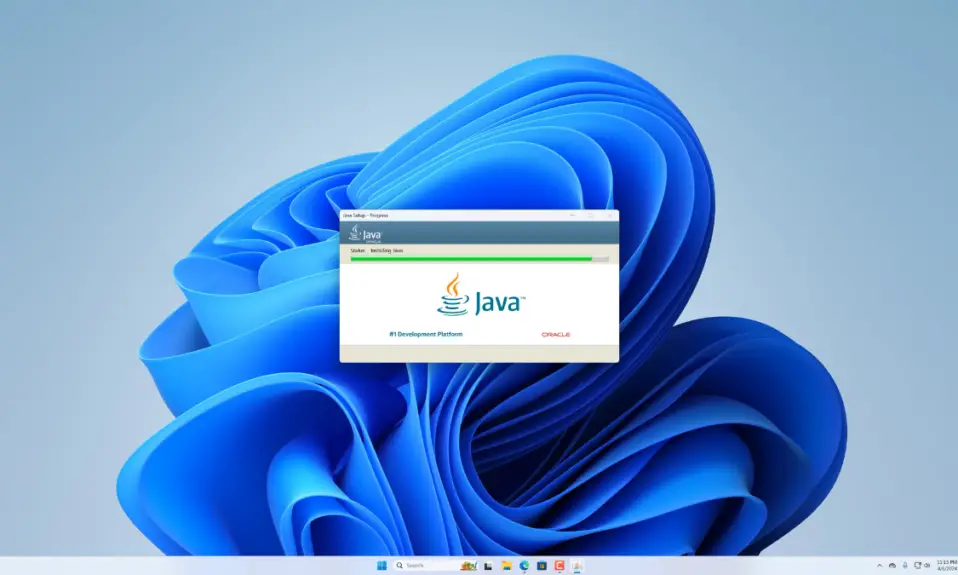
By just downloading and installing Java SE Development Kit on your system, Java files will not work. You have to specify the Java installation path on the environment variable. So, the system can execute Java code on your Windows 11 system.
Here are the steps to set up an environment variable for Java:
1. Open C Drive > Program Files folder look for the Java folder and open it.
2. Inside the Java folder, you will find a JDK folder. Open it and open the bin folder.
3. Now copy the path of the bin folder location.

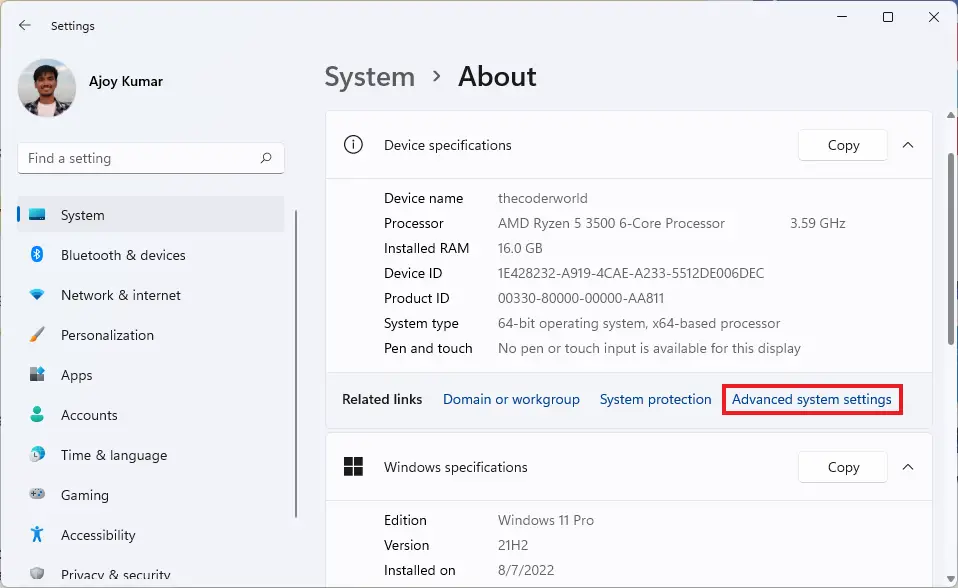
4. After that, click on the Windows icon to open the Start Menu and click on Settings.

5. Next, click on the System tab from the left panel of the Settings window.
6. Then, look for an option called About and click on that option present to the right of your screen.

7. Now, you will get all your device specifications. Click on the Advanced system settings option; to access the System Properties.
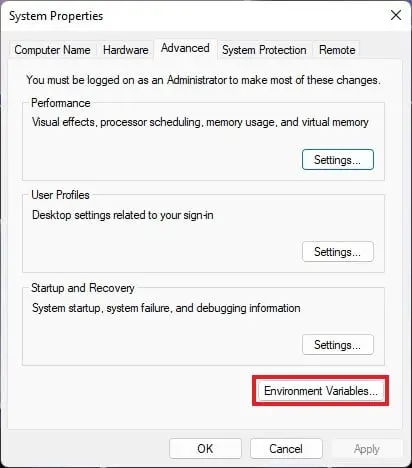
8. It will open the system properties window. Click the Advanced tab and select Environment Variables to open the variables windows.
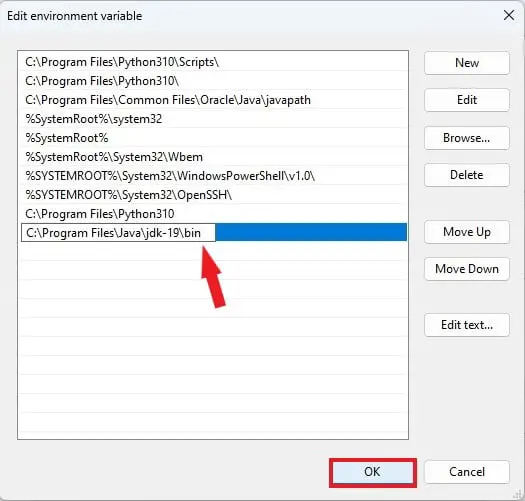
9. You will get two variables option. One is for user variables and system variables. Under the system variable section, select the Path variable and click on the Edit button.

10. Now, click New and add the bin folder location.
11. After that, click on OK to save the changes.
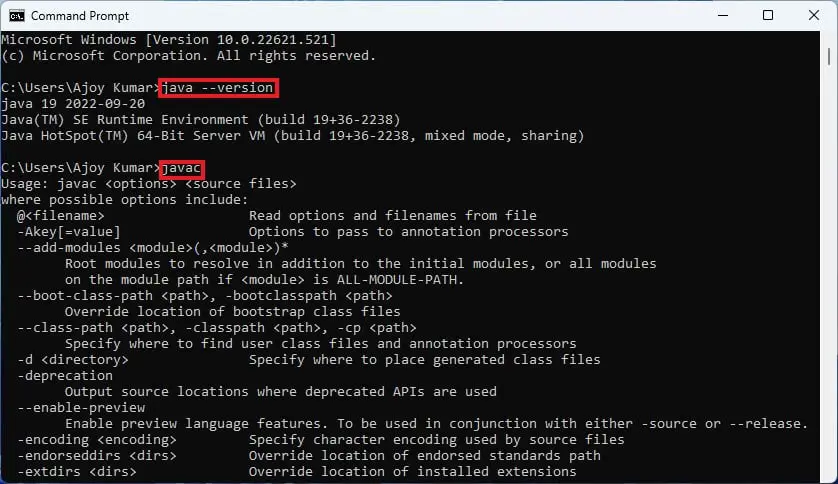
12. To verify, open the command prompt and run the following commands one by one.
java --versionjavac13. If the command returns the currently installed version of Java, that means; the Java environment variable is fully set on your Windows system.
Conclusion
That’s it; this is how you can set up environment variables for Java in Windows 11. This will fix any Java error you are having on your system. We hope this article was helpful to you. Moreover, if you have some suggestions, do not hesitate to leave them in the comments section below.