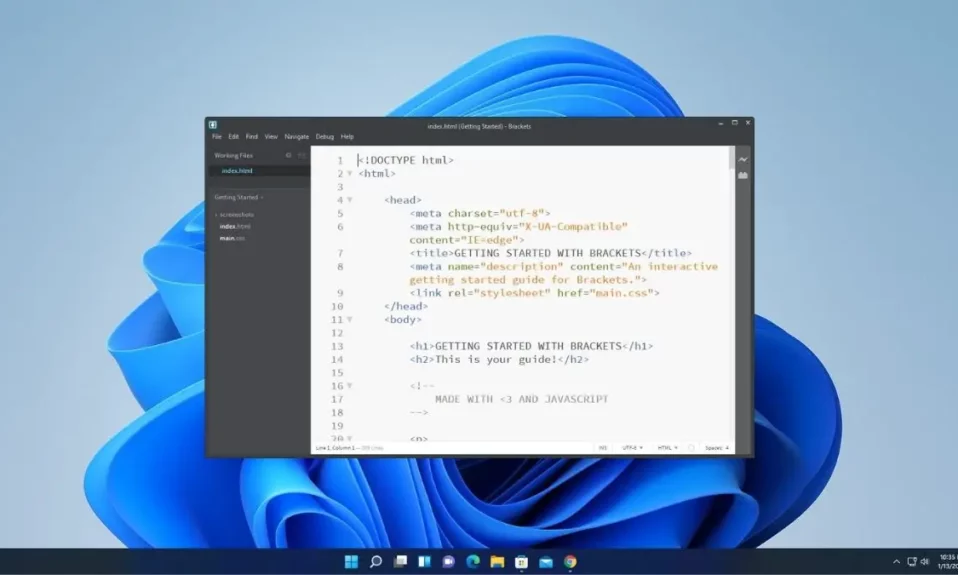
Brackets is an open-source text editor for the Windows operating system. It was developed by Adobe Inc. and is currently maintained on GitHub. It is specially designed for web development. We can easily write codes in HTML, CSS, and JavaScript.
Here in this article, we will walk you through the process of how you can download and use Brackets for web designing and development. So, without further ado, let’s get started.
How to Download and Install Brackets on Windows 11
If you are a beginner in web development and you are looking for a source code editor then you can use Brackets. It supports all the backend and frontend programming languages that are used to create a website.
Here are the steps to download and install Brackets on Windows 11.
1. Open any browser, search for Brackets, and open the link from brackets.io
2. To download the software click on the Download option from the menu bar.
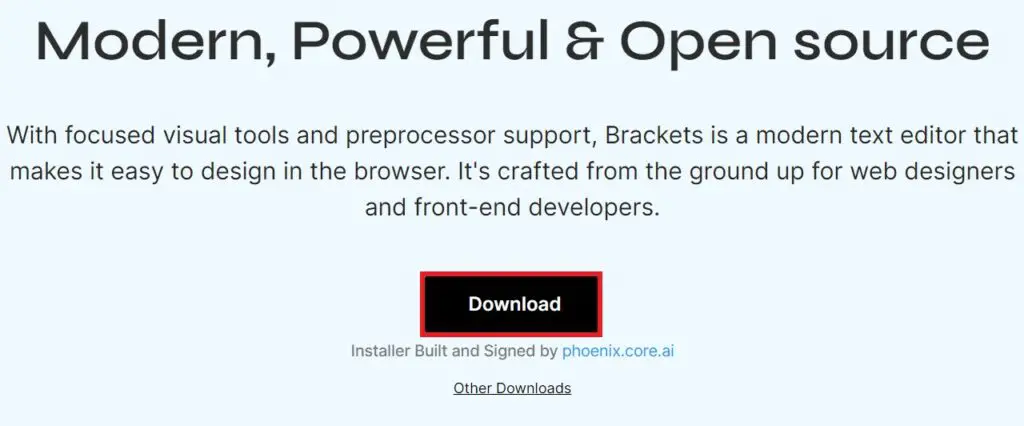
3. After that, it will download the installer file on your system.
4. Once the download has been completed open the downloaded file.
5. Now on the installer windows select the language from the drop-down menu and click on the Next button.

5. On the next windows, select the location where you want to install Brackets. If you wish you can keep it default and agree to the license terms and conditions and click on Next.

6. Here we have two setup types; choose the one that best suits your needs. In my case, I chose the Custom setup type.

7. Select the components that you want to install with brackets. For simplicity, select all the components and click on the Modify button.
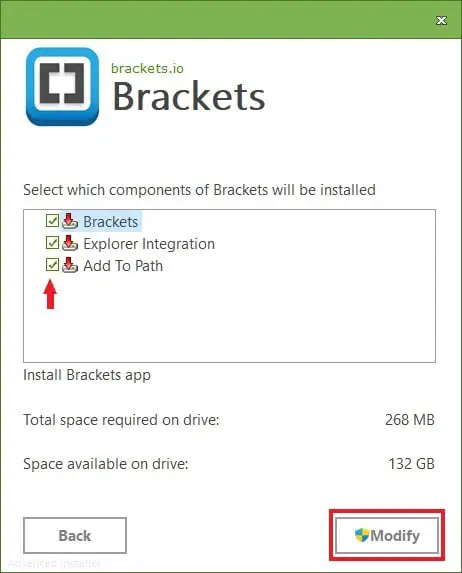
8. After that, it will install the Brackets source code editor. The installation process will take some time, so wait until the installation is complete.
Once you have successfully installed Brackets, you’ll find it to be a versatile and user-friendly code editor for web development. It offers a range of features such as live preview, inline editing, and a wide selection of extensions that can enhance your coding experience.
How to Setup Brackets for Web Development
Now, you are ready to use Brackets for web development. When you open Brackets for the first time, it will prompt the Windows Security Alert; just click ‘Allow Access.’ This action will not affect your Windows security.
After that, you are ready to use Brackets on your Windows system. To create your first project using Brackets, you can follow the following steps:
1. First of all, we have to create a new file. For that, click on File > New File.

2. Now we have to save the file with the .hmtl extension, as we are going to create an HTML file. HTML defines the structure of our website.
3. To save the file click on File > Save As and select the location where you want to save your files.
4. After that, name your file say for example index.html, and click Save.

5. Now you can start writing your HTML code. If you want to add CSS then you can create a CSS file with the .css extension. Make sure that you save the CSS file in the same folder. For example, I created a main.css file for my website.

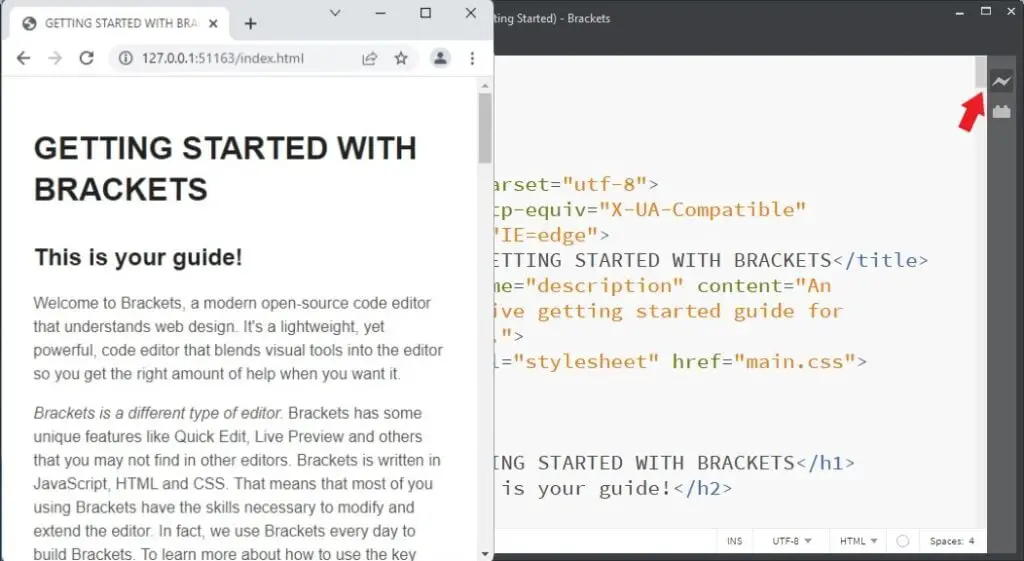
5. Now to preview your code, you can use the Live Preview option. Make sure that the Google Chrome browser is installed on your system.
Conclusion
Web development is an exciting field that constantly evolves. As you delve deeper into it, you’ll discover new techniques, frameworks, and tools that can enhance your skills and efficiency. Brackets is just one of many powerful tools available to you.
Be sure to stay curious, explore different technologies, and never stop learning. The web development community is vast and supportive, so don’t hesitate to dive in. That’s it; this is how you can install and set up Brackets for web development on Windows 11.