Java is a widely used and versatile programming language that often requires users to switch between different versions based on project requirements or personal preferences. If you are an Ubuntu Linux user, it is essential to know how to manage Java versions.
In this guide, we will walk you through the steps to seamlessly switch between Java versions on your Ubuntu system. So, let’s get started!
How to Switch Between Java Version on Ubuntu Linux
It is important to check your current Java version before switching between versions. Knowing which Java version is installed on your system is essential before making any changes.
For that, can follow the following steps:
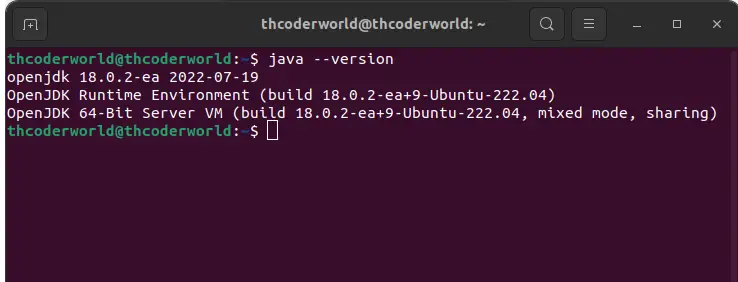
1. Open the terminal and use the following command:
java -version
2. If Java is not already installed on your system, you can install it by running some terminal commands. Ubuntu provides an easy way to install various Java versions using the openjdk package. You can use the package manager to install the desired versions. For example, if you want to install OpenJDK 11 and 18, just run the following command in the terminal:
sudo apt-get install openjdk-11-jdk
sudo apt-get install openjdk-18-jdk
3. To switch between Java versions, you have to configure the default Java version.
4. For that, you can use the update-alternatives command to view the available Java options. To do so, run the following command.
sudo update-alternatives --config java

5. For instance, to set OpenJDK 11 as the default. Type 1 and hit enter.

6. After selecting your desired Java version, you can check the default version by running this terminal command:
java --version

Conclusion
It is crucial for developers and users working on different projects to be able to switch between Java versions on Ubuntu Linux.
By following the steps below, you can easily navigate between different Java versions, ensuring compatibility and optimal performance for your applications. Keep exploring the capabilities of Java on Ubuntu and enhance your programming experience.

