Looking to install NetBeans for Java programming on Windows 11? You’re in the right place. NetBeans IDE is an Integrated Development Environment (IDE) for Java development. It assists you in crafting modular Java software and programs. In this guide, we will discuss the installation and setup process of NetBeans on Windows 11.
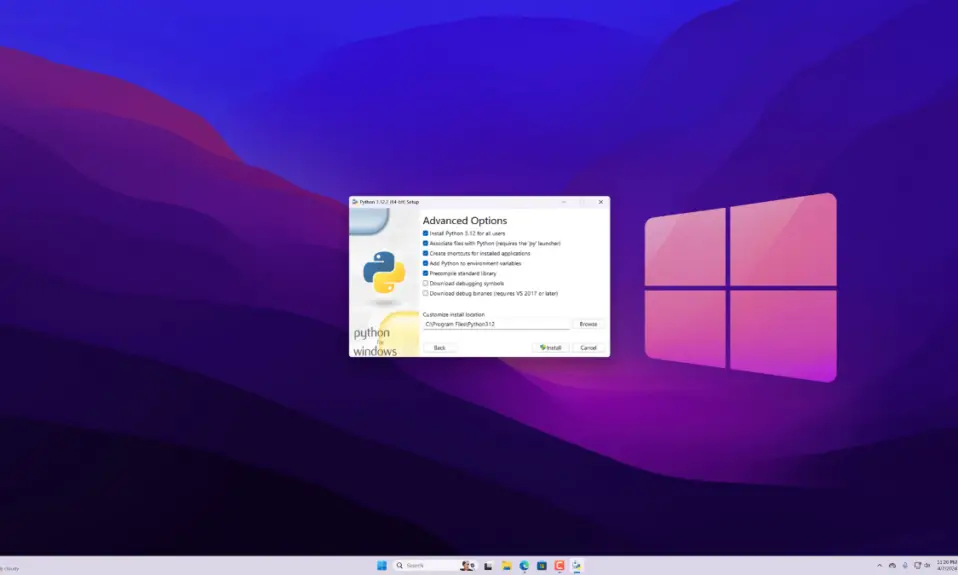
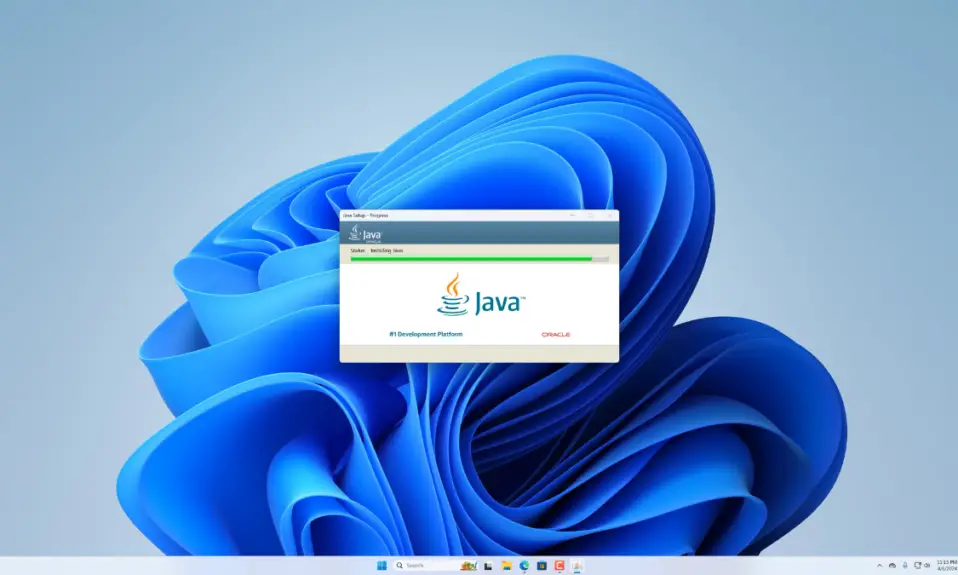
The download and installation process is straightforward; simply follow these steps to download and install NetBeans for Java programming on Windows 11. Ensure you install and set up Java JDK on Windows 11 before proceeding with the installation of NetBeans IDE on your Windows system.
How to Install NetBeans IDE on Windows 11
After you have installed Java JDK on your system, you can follow these steps to install and set up NetBeans IDE for Java Programming.
1. Open the browser and search for NetBeans. Or, open the link from netbeans.apache.org
2. It will redirect you to the official web page.
3. Click the Download button and select the Windows installer file to download Apache NetBeans IDE.

4. After the download is complete, open the downloaded file.
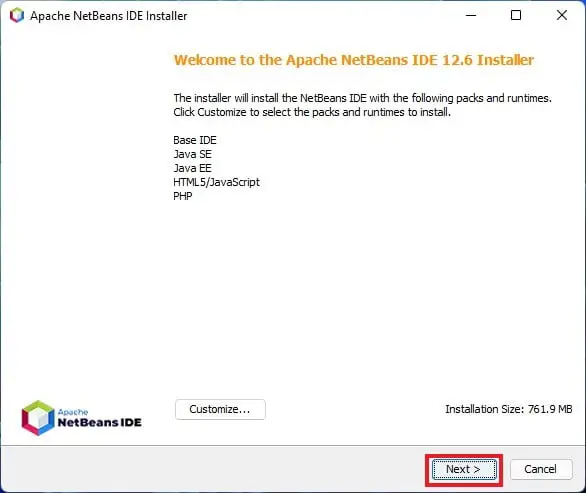
5. Now, it will open the Apache NetBeans IDE Installer window. Here, click on Next to continue with the installation.
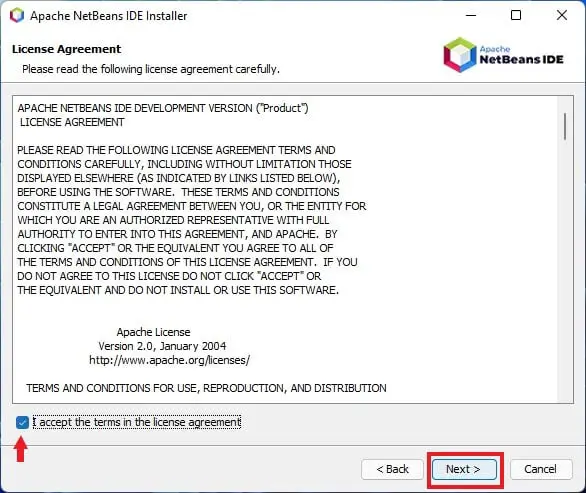
6. In the next window, you will find the license agreement. Read the agreement and agree to the terms of the license agreement.
7. After that, click on the Next button.
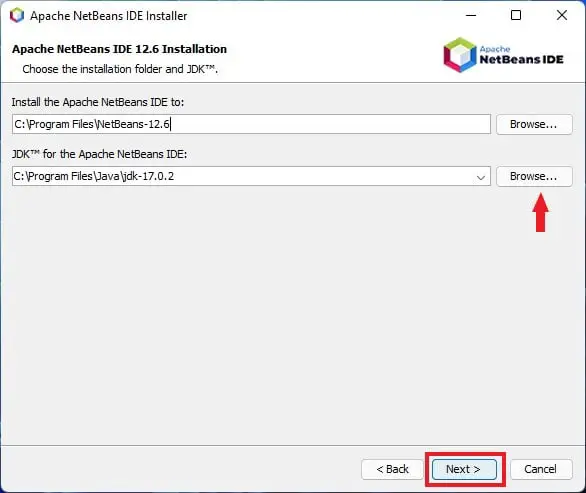
8. Now, you will get an option to change the installation windows. You can click on the Browse option if you want to change the installation location. Or else, you can continue with the default location and click on Next to continue.
9. Here you also need to add the Java JDK installation location. After that, click on Next to continue.
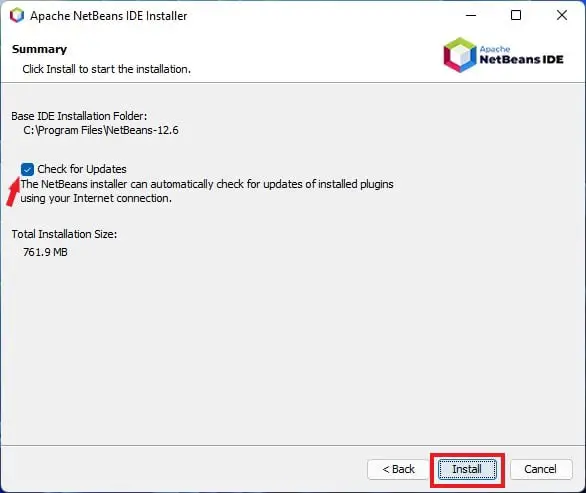
10. On the next window, select Check for Updates and click the Install button.
The installation will take some time, so wait until the installation is complete. After that, you are ready to use NetBeans for Java Development.
That’s it; this is how you can install Apache NetBeans IDE on Windows 11. Now let’s discuss how to set up NetBeans for Java development.
How to Setup NetBeans for Java Programming
Once you have installed NetBeans IDE on your system, you need to set up NetBeans IDE for Java programming. Now, let’s discuss the setup process and how to create a Java file in NetBeans.
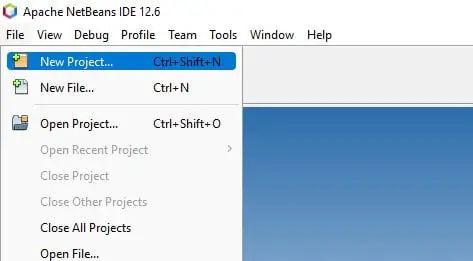
1. Open NetBeans and click on the File > New Project option. You can also use Ctrl + Shift + N to create a new project.
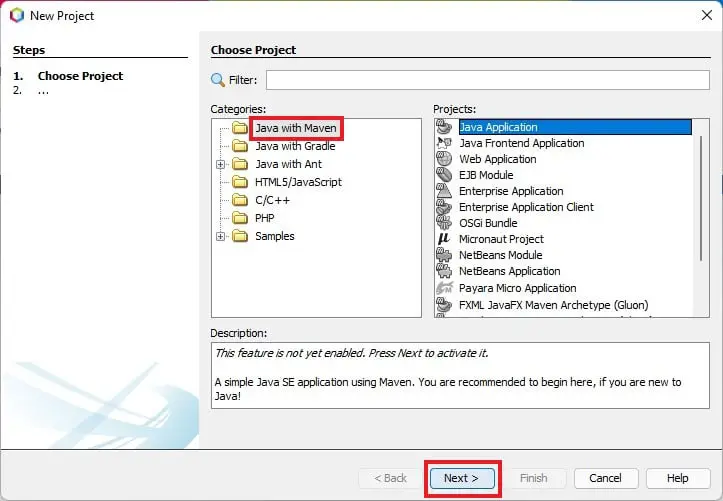
2. Select Java with Maven on the next window; from the categories option.
3. After that, select Java Application as a project type and click on the Next button to continue.
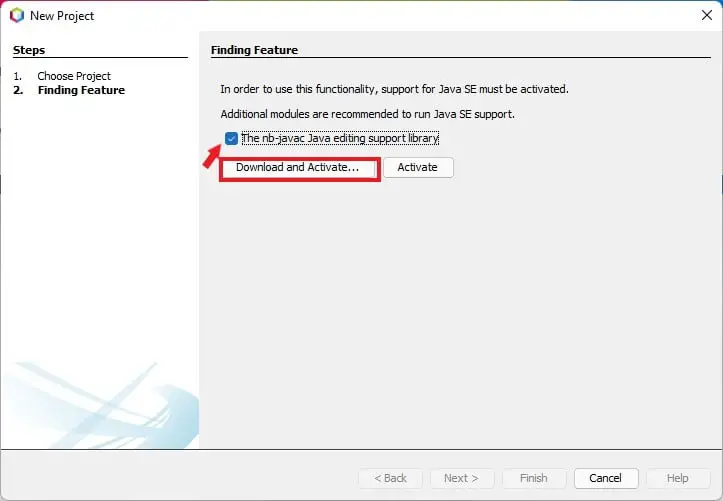
4. Java SE support is necessary to create and run Java projects on the NetBeans IDE.
5. Choose the nb-javac Java editing support library and click the Download and Activate button to add the support.
6. In the next window, click the Next button to continue. Now, read the license agreement and accept the terms.
7. After that, click Install and wait for the installation to complete. Once done, click on the Finish button.

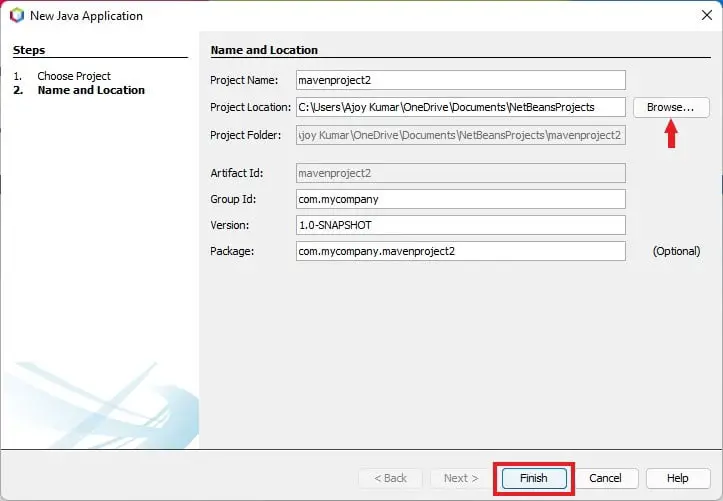
8. Give a name to your project, then choose a location to save the project file.
9. After that, click on Finish to create the project.
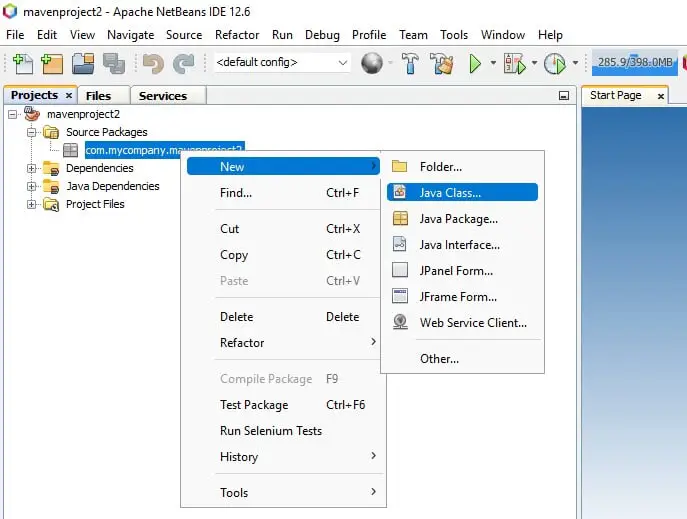
10. After that, you must create a Java class file for your project. For that, click on Project name > Source Packages. Now, right-click on it and click on New > Java Class.
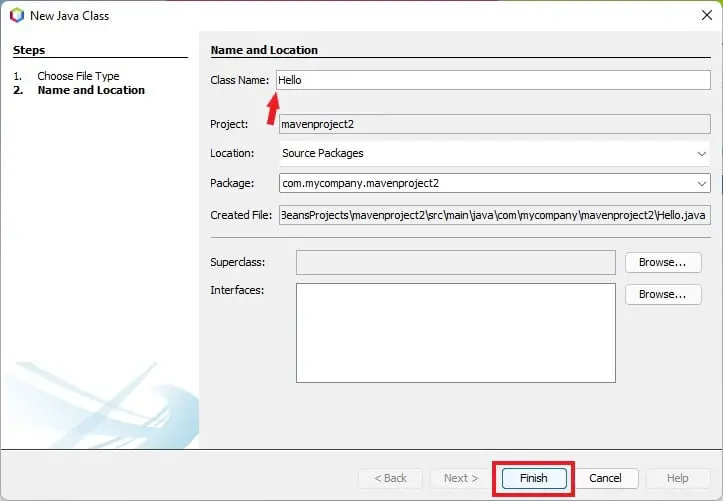
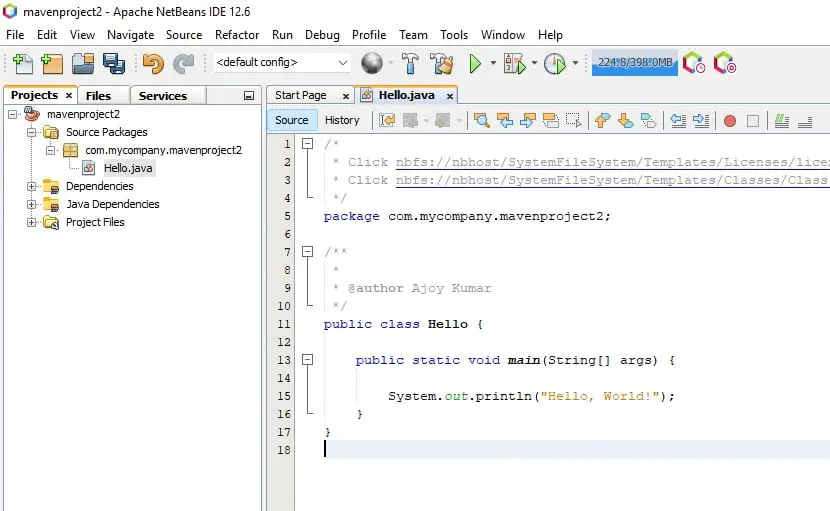
11. On the next window, name your class file and click on the Finish button. Now you are ready to write Java code on NetBeans IDE.
12. You must save your file to execute your Java code. You can use the Ctrl + S keyboard shortcut to save the file.
13. Now you have to build the project using the F11 key. After that, use F6 to compile the code.
Conclusion
That’s it; this is how you can install and set up NetBeans IDE for Java Development on Windows 11. After that, you are ready to use NetBeans IDE for Java programming. However, you can also use Eclipse IDE to develop Java programs.
We hope the guide is helpful to you. If you liked the article, share it with your friends who are looking for Java IDE. Moreover, if you have some suggestions or queries, do not hesitate to leave them in the comments section.