Atom is a free and open-source text editor developed by GitHub. It is available on macOS, Windows, and Linux. We can customize it to do anything we like to do. It can also be used as a source code editor. However, despite its official sunset, there is still a way to download and install Atom on Windows 11.
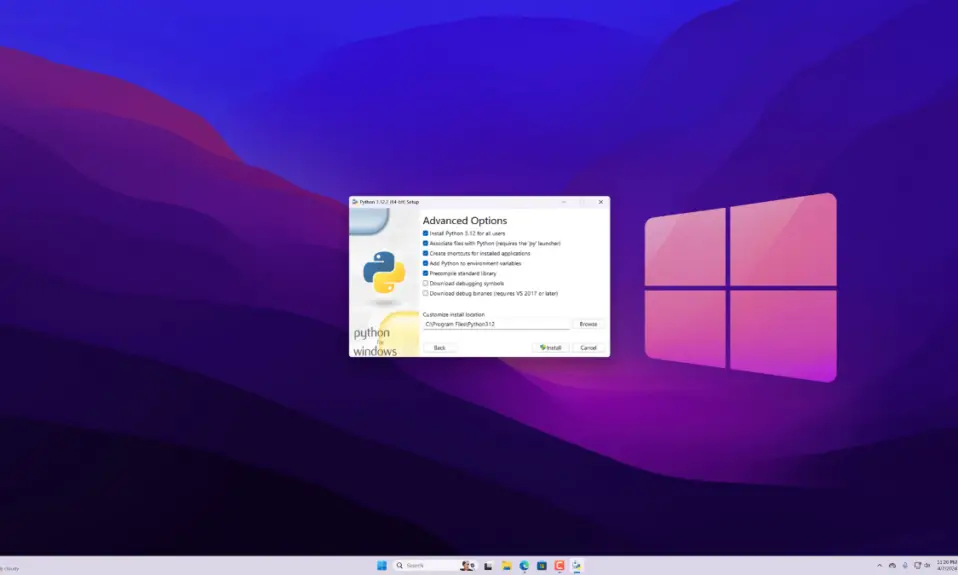
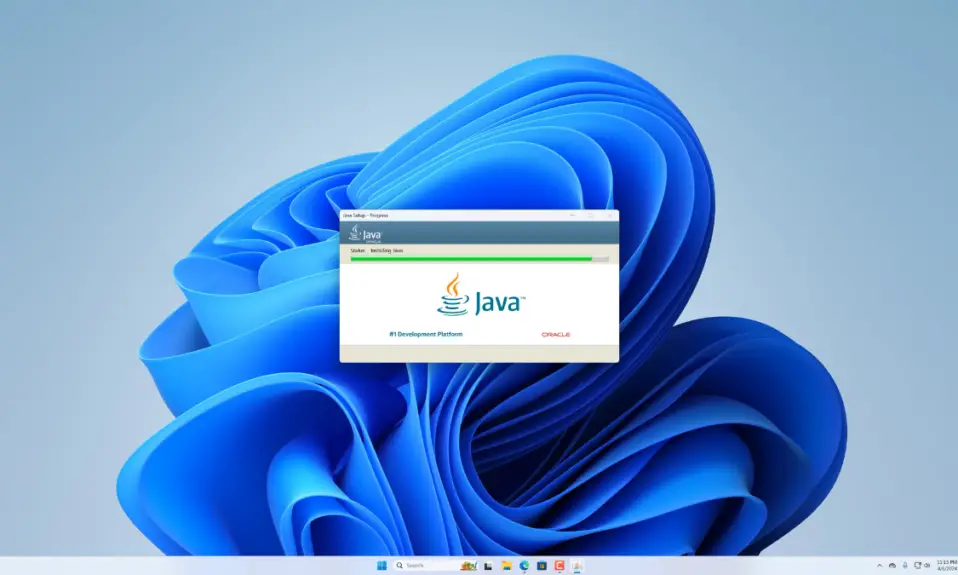
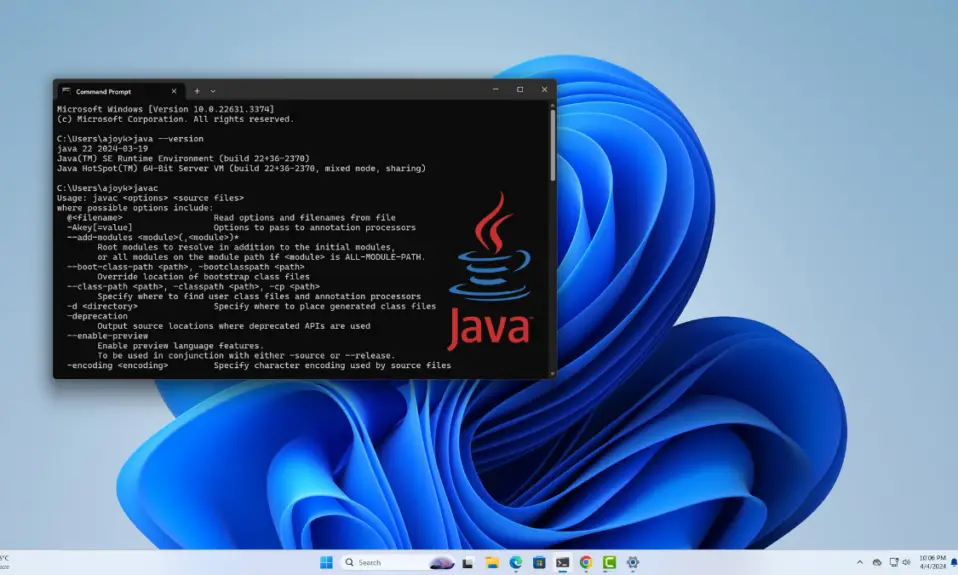
Here, we are going to discuss; how to set up Atom Editor for Java Development on Windows 11. So let’s get started. Before that, first of all, we have to install and set up Java JDK on Windows 11.
How to Setup Atom Editor for Java Development
After you have successfully installed and set up Java JDK on your system. Follow the following steps to set up Atom Editor for Java development:
1. Open any browser, search for Atom Editor, and open the link from atom.io.
2. Here, you will get all the information and features about the Atom Editor.
Note: GitHub has archived the Atom Editor and all projects under the Atom organization as part of an official sunset. You can download it from the GitHub repository.
3. Now to download the latest version of Atom Editor for Windows 11, click on the Download option.

4. After the download has been completed, open the installer file. It will open the installation wizard, here you don’t need to do anything it will automatically install and open the Atom Editor.

5: Now to run Java code on Atom Editor, we need to install one package called Script. For that, go to Files > Settings > Install, and you can search for the Script package.

After that, you are ready to use Atom Editor for Java Development. Now let me show you how you can create a Java project using Atom.
How to Create Java Project using Atom
Here are steps to create your first Java project using Atom Editor on Windows 11:
1. Click on File > New File, and save the file using Ctrl+Shift+S. Now name your file with the .java extension and click on Save.
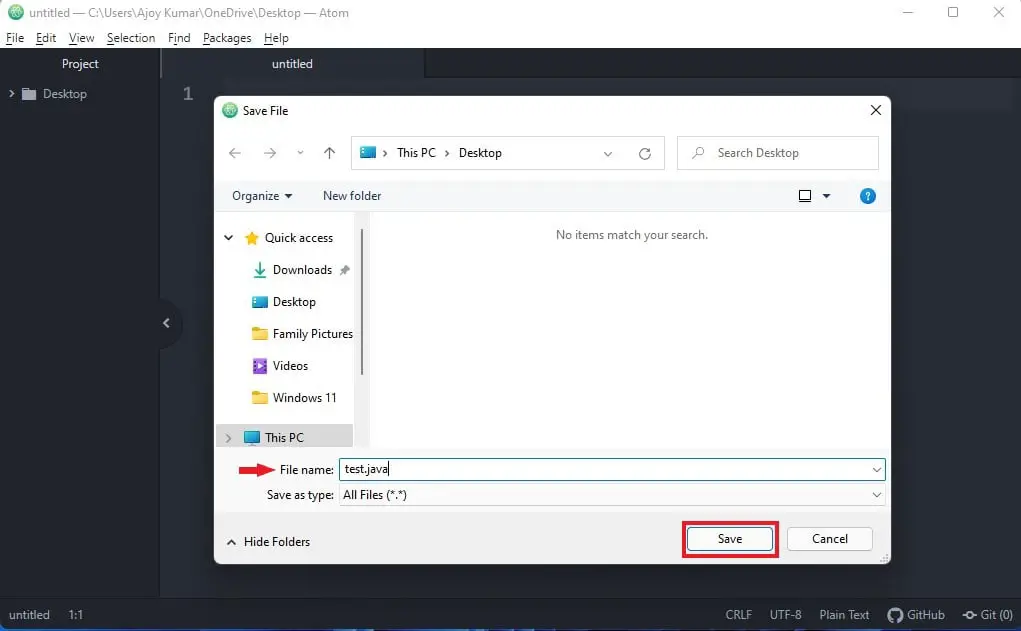
2. Now write your Java program but make sure that your class and file name are the same. As you have saved our file as test.java, you used test as a class name.

3. To run the Java code, first of all, you have to save your file using Ctrl + S.
4. Now click on Packages, select Script, and click on Run Script to compile the Java code on Atom Editor.

Conclusion
That’s it. This is how you can set up Atom Editor for Java Development on Windows 11. However, you can also use other editors for Java Development, such as Eclipse IDE and IntelliJ IDEA. These are the most popular IDEs used for developing Java programs. So, it depends on you which IDE you want to use. However, we recommend using Eclipse IDE.
We hope this article has been beneficial to you. If you enjoyed it, please consider sharing it with your peers. Feel free to leave any suggestions or inquiries in the comment section below. We are always here to assist you.